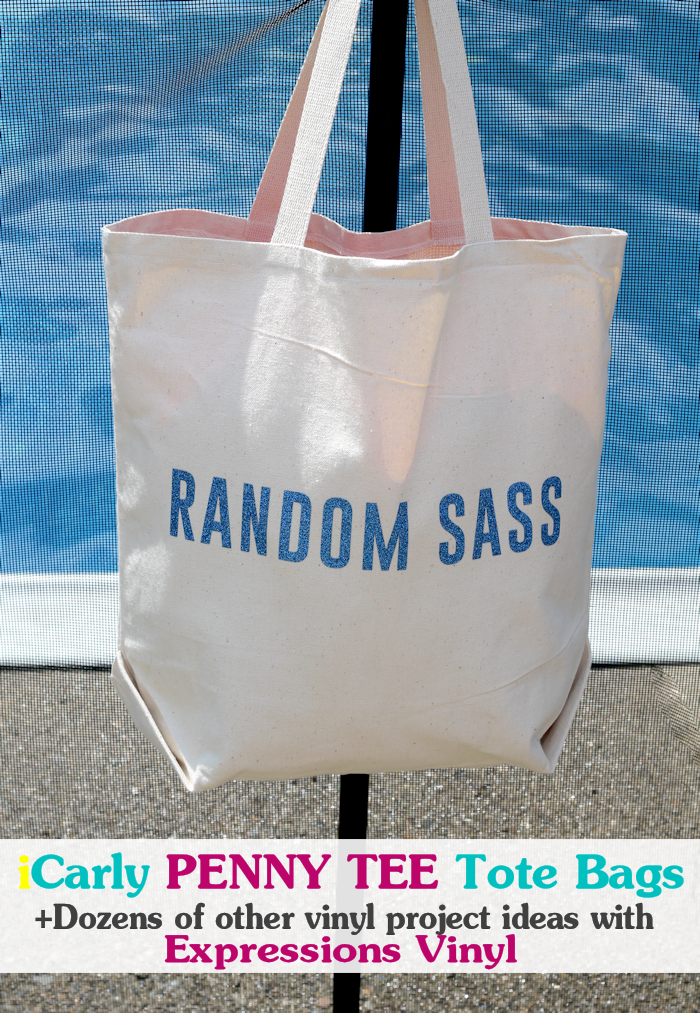
We were HUGE fans of iCarly when it was on and we LOVED their penny tees! I created these DIY iCarly Penny Tee Tote Bags for my girls and I think I’m going to make one for myself too!
This post is sponsored by Expressions Vinyl but all opinions on their products are entirely my own.
I thought about coming up with my own witty and completely silly sayings but there were so many great ones from the iCarly show that I decided to let my girls pick ones from the list found here. I also thought it might be fun to use some hashtag love for the other side of the bag so we had fun with that too!
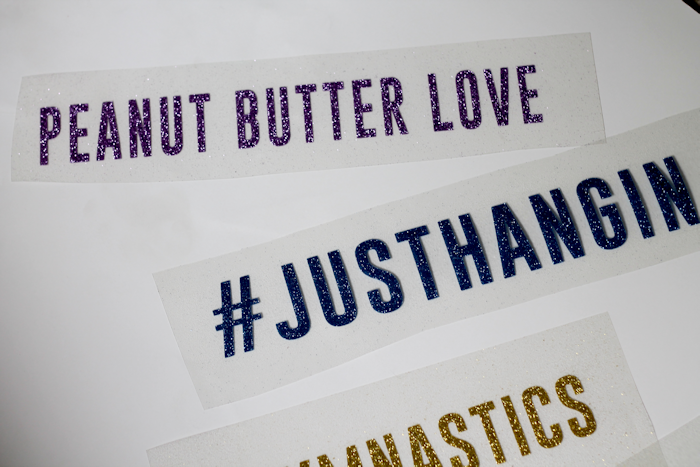
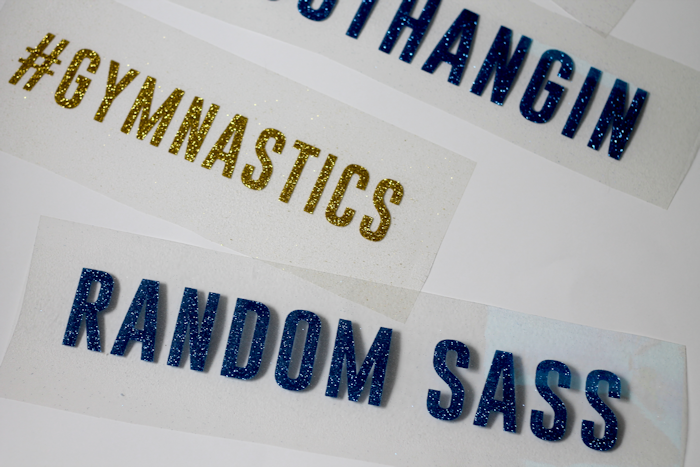
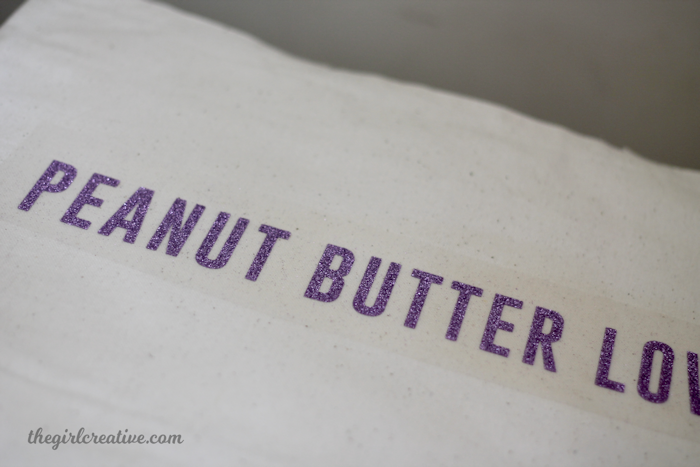
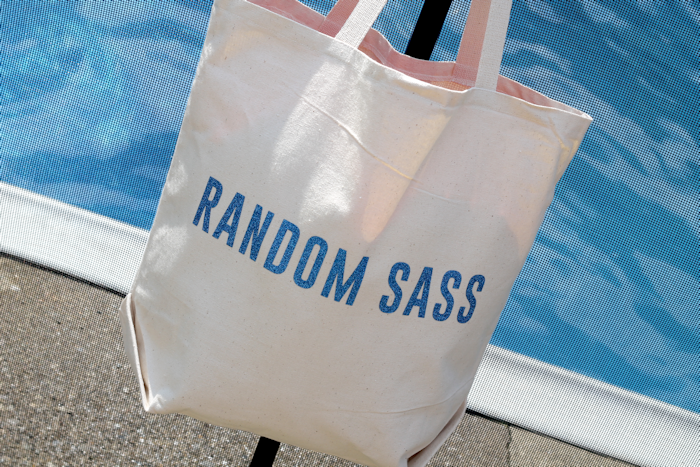
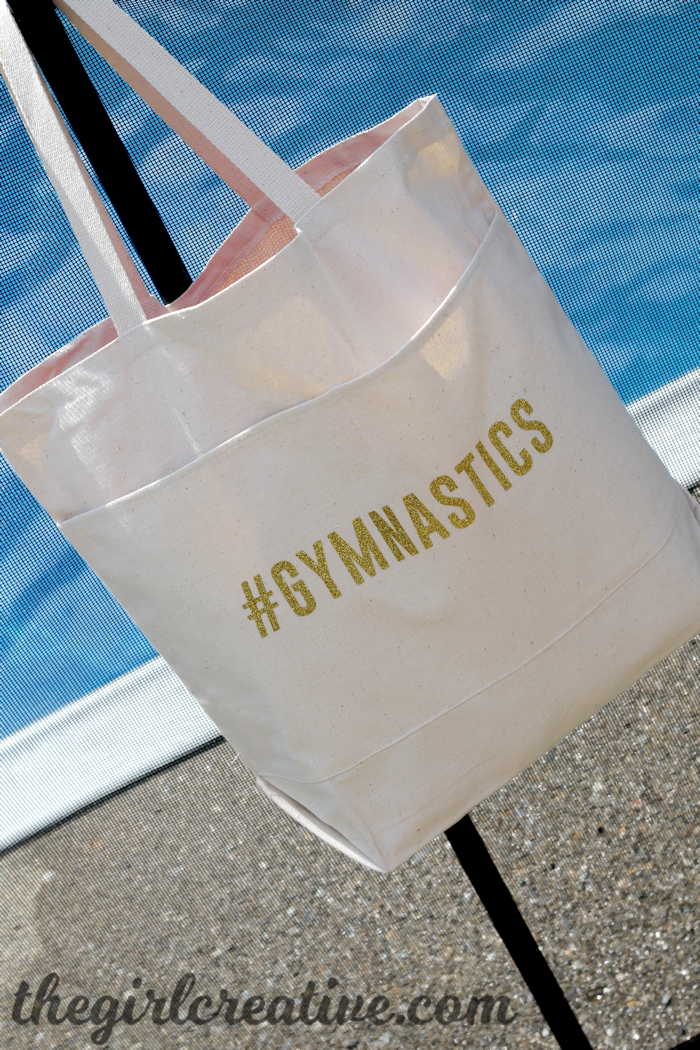
My oldest daughter, Emilee, picked “Random Sass” which was worn by Sam on the iBelieve in Bigfoot episode. My younger daughter, Gracie, chose “Peanut Butter Love” worn by Carly in the iStage and Intervention episode. They also went with the hashtags #gynmatics and #justhangin.
SUPPLY LIST
Canvas Tote Bags
Glitter Heat Transfer Vinyl from Expressions Vinyl (Blue Siser, Blue Siser, Gold Siser)
Sihouette Cameo
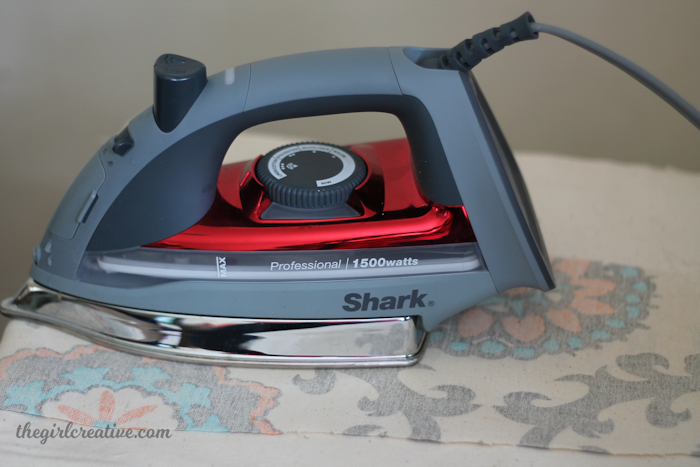
Iron & Ironing Board
Scrap Fabric
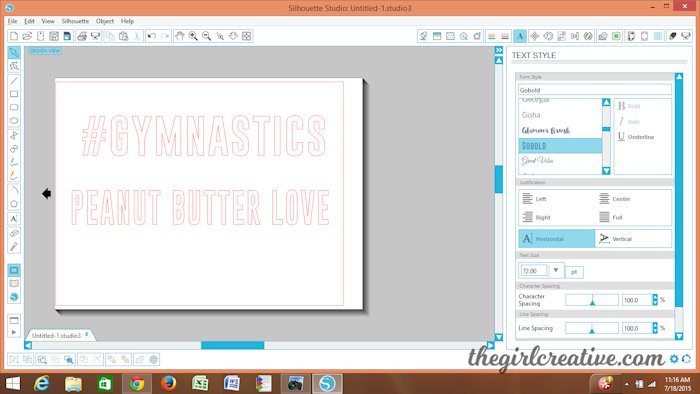
Step One: Design your template in the Silhouette Studio software.
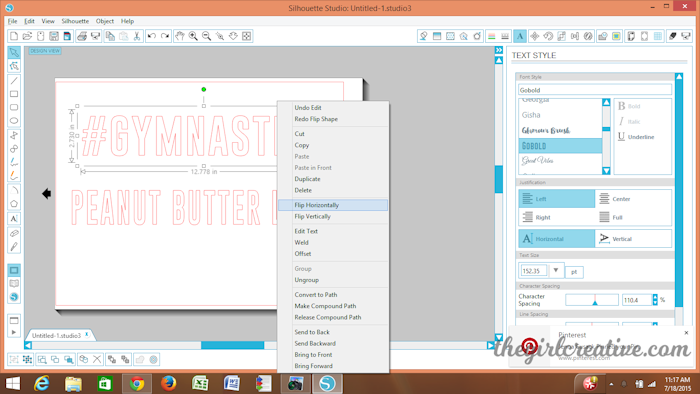
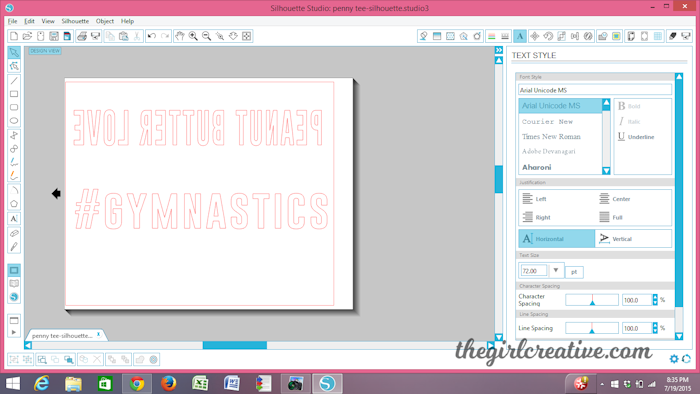
Step Two: When using heat transfer vinyl, you always want to mirror your images. You can do this by right-clicking on your design and choosing “flip horizontally”.
Step Three: Cut your design out from your glitter heat transfer vinyl. Be sure to adjust the setting properly in the Silhouette software and the shiny side of the vinyl is going to go FACE DOWN when you feed it into your Cameo. Once design is cut out, remove excess vinyl and you will be left with just the letters. (Sorry, no pics of some of this stuff.)
Step Four: Iron your tote bag just a little bit. I found that it helped having my surface warm before I ironed the heat transfer vinyl down. Place your design down on your tote bag in the place that you want it and cover it with a scrap piece of fabric. Iron over the scrap fabric for about 10-15 seconds. Next, rest your iron on one end of the design and let it sit for about 30 seconds. Do this with each portion of the design. I found this really helps adhere the design to your tote bag. Remove scrap fabric, allow to cool for 15-20 seconds or so and slowly peel the clear plastic off the design. It should come off easily. If you find that the design is not sticking, leave it in place and repeat this step. Allow to cool a bit longer before trying to remove.
Now, I’ve probably done more heat transfer projects than anything else with my Cameo and I always, ALWAYS had issues with my design not sticking. Or, they’d stick but they would wrinkle. This was my first time using heat transfer vinyl from Expressions Vinyl and this is the FIRST time I had a flawless project. It cut out beautifully with my Cameo and it adhered beautifully as well. I couldn’t be happier with the results.
Helpful Tips for Using Heat Transfer Vinyl
- Be sure the surface you are using as an ironing board is nice and padded. If you have a cover on your ironing board, put a towel down on it before using heat transfer vinyl. I don’t know if it’s totally necessary but I find it to be really helpful.
- Iron your craft medium (i.e. t-shirt, tote bag, fabric, etc.) first before applying your design.
- After you iron your design on and peel the clear plastic off the design, cover it with a scrap piece of fabric again and run the iron over it one last time.
This is Gracie’s bag.
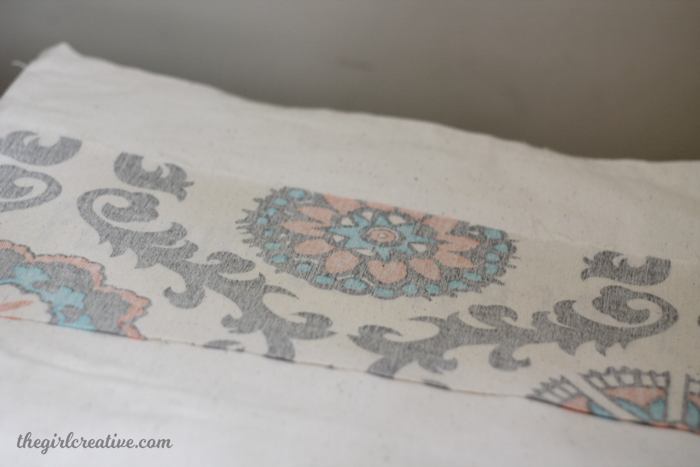
And this is Emilee’s bag.
I picked up these tote bags from Hobby Lobby. They are nice and big. I can’t wait to bring them on our beach vacation at the end of the summer. They will be great bags to load all their stuff in for the road trip down to NC or to bring down to the beach with us.
Myself and a bunch of other bloggers have teamed up with #ExpressionsVinyl to showcase their amazing products. Check out all of the fun projects below! #VinylProjects

