Learn how to make this Giant DIY Chalkboard with for just $10 and some free time! Complete tutorial and instructions below!
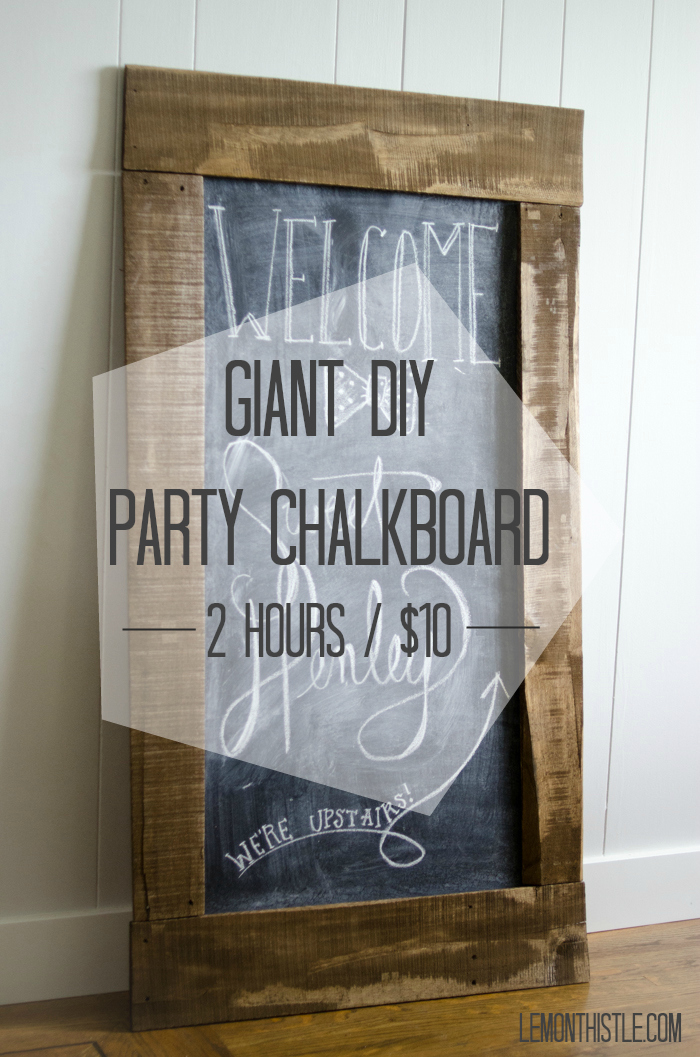
Hello all you The Girl Creative readers! I’m Colleen- the girl behind LemonThistle (home to DIYs, Parties, Home Decor and lots of Babies). I’m so excited Diana has invited me to share my Giant Party Chalkboard with you today! I originally made this guy for a one year old’s birthday party but was so sick with a cold it sat in my front yard and never got used (bummer). Since then it’s been used for a baby shower (shown below) and a couple other fun gatherings. So it was well worth the effort… and I can tell you how it’s held up being dragged all over town!
It’s actually done really well considering it was such an easy project! The only recommendation I’d make is to use a construction adhesive like PL instead of wood glue like I show here. I did for the second chalkboard and it’s so much more sturdy! So keep that in mind. It comes in tubes that you can use with a silicone gun- and it’s the best. Anyways… on with the post!

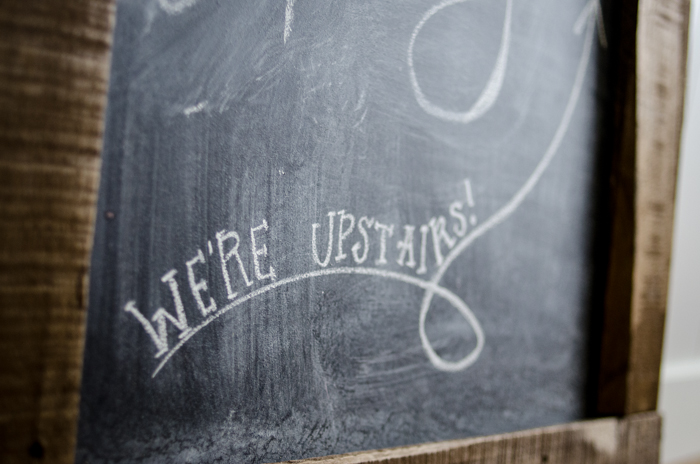
Can I talk about how much I love directional signage? For those of us who don’t have one level living- or the party is around back- it’s nice to have something to point the way to guests so you aren’t stuck at your front door the whole party. It’s cute and casual and so much better than yelling down the stairs ‘We’re up here!’. Anyways- let’s get to how we made it.
This sign was made really last minute, like I’m a major procrastinator. It’s the one thing I was doing for the party and I really put it off… like until the morning of. But you know what they say? If you give the laziest person a job- you’ll learn the easiest way to do it. So here’s probably the easiest way to make a giant chalkboard:
Supplies to make two giant chalkboards:
- 1 Piece Hardboard (mine was 4×4) ($11)
- Chalkboard Paint & Foam roller ($12 – you’ll only use part of the can)
- Pallet, Hammer & Pry bar
- Circular Saw & Square
- Wood Stain (free- leftovers!)
- Wood Glue & Clamps (I had these on hand as well)
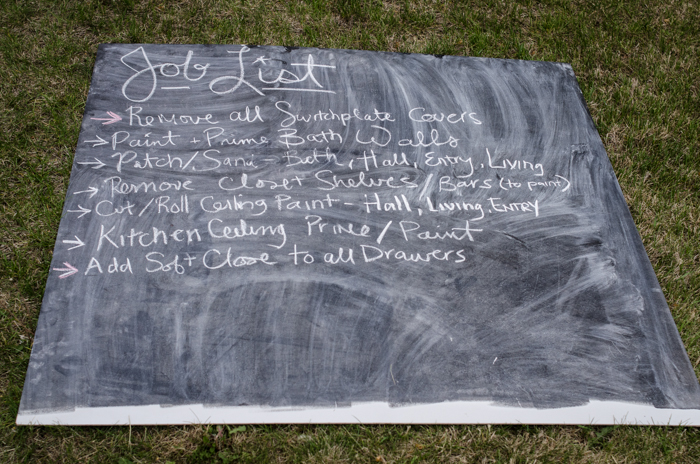
This is what I started with- a giant piece of standard hardboard. Mine was white, but you can get the plain stuff for $10 and that’s enough to make two chalkboards. I’d painted it a while back using storebought chalkboard paint. At the time I didn’t have grout or black paint to test out making my own- honestly I haven’t heard of too many people who had success with that anyways, I just shelled out the twelve bucks. Painting the entire board two coats used about one third of the can, so I can use it for future projects too. We’d been using it during renovations as a task list, but has been relegated to the basement since we moved in.
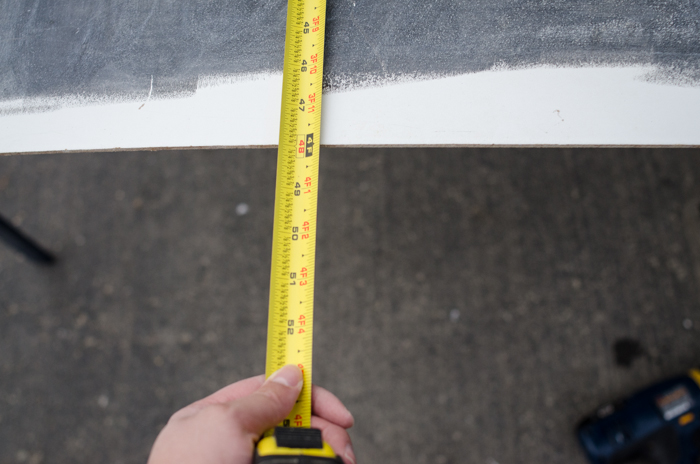
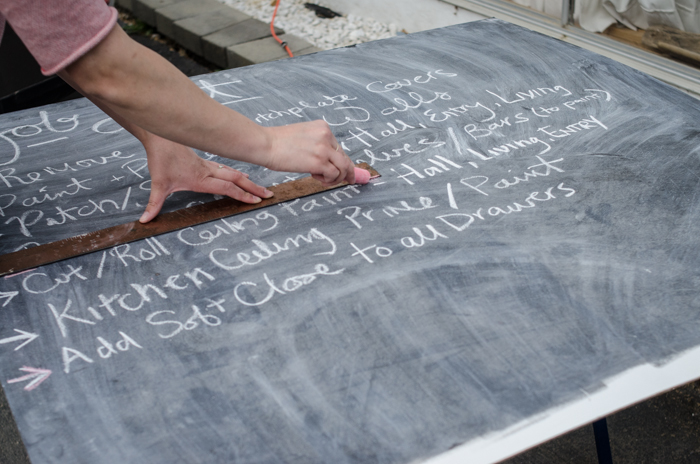
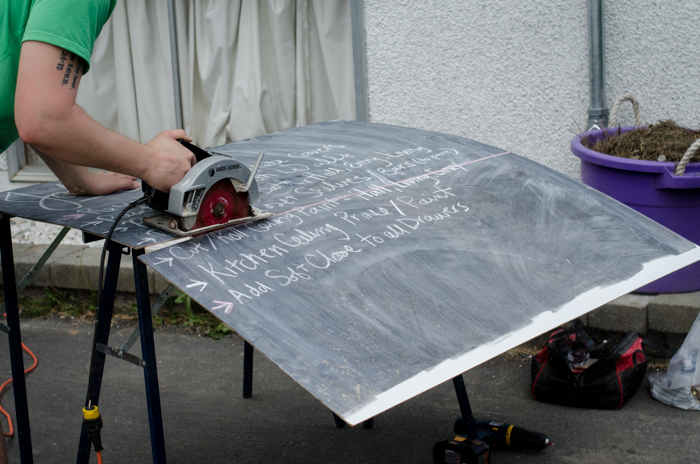
I decided I’d like two chalkboards so my handy hubby cut it in half for me. I measured and marked the line down the middle (using a square to make sure it’s nice and straight) and we used a circular saw to cut. Cutting something so big and bendy is a bit tricky, so I’m glad I got to stand back and watch this part.
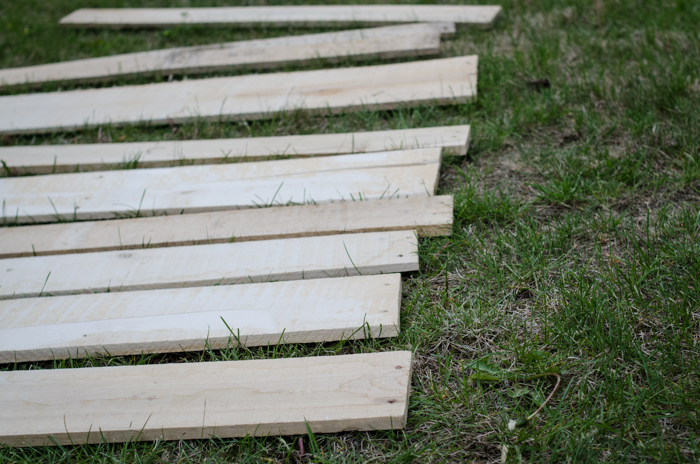
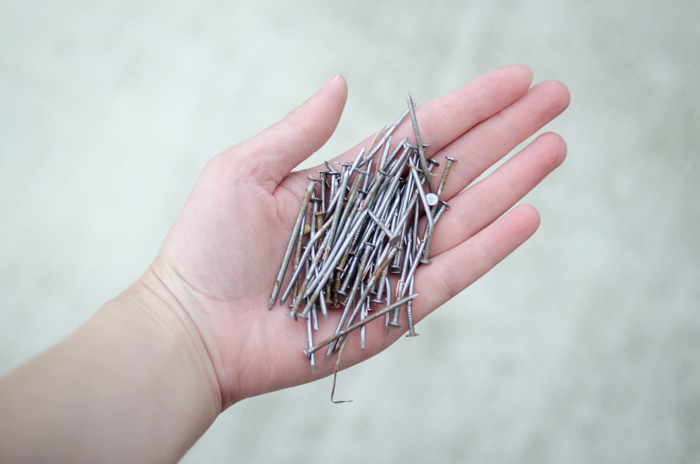
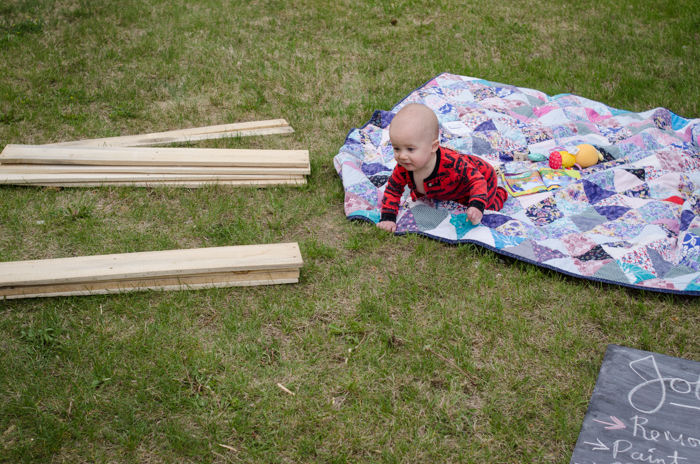
The other piece of the puzzle? An old pallet. Our flooring was delivered on one so I didn’t have to go hunting (win!) so I just had to disassemble it. I used a hammer and small pry bar- worked like a charm. When you’re done disassembling you’ll have a pile of nails (SO many nails) and different widths of usable board. At this point my little helper woke up early from his nap so we moved a little slower.
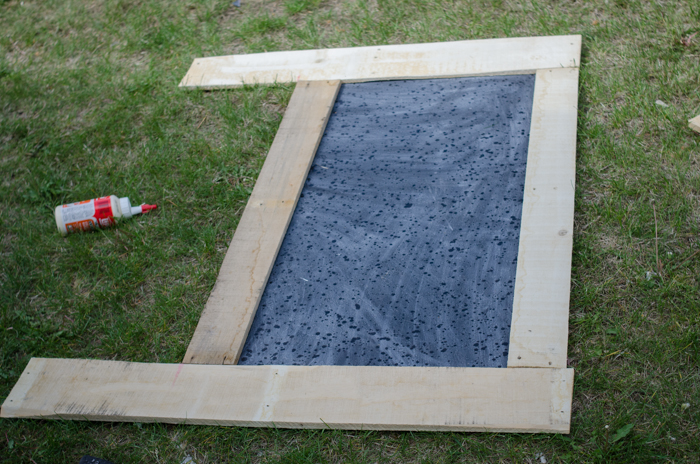
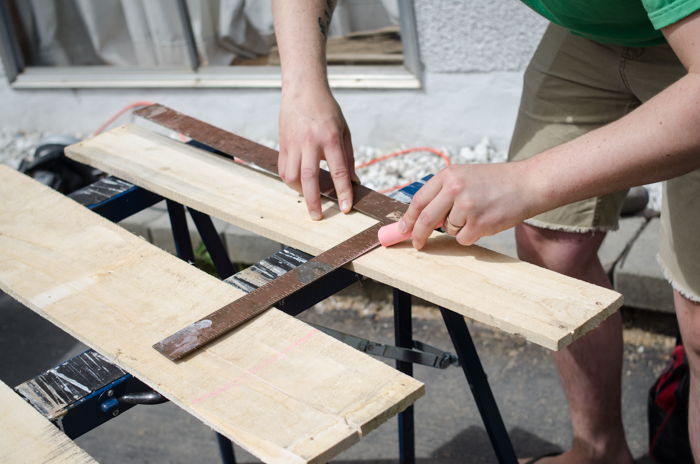
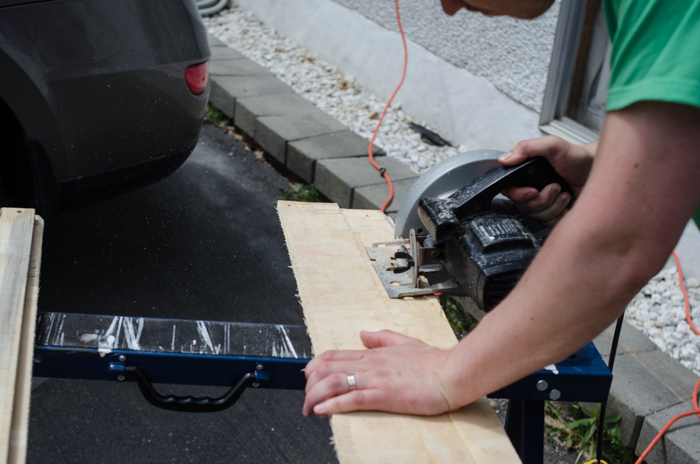
Next I laid out the pieces I wanted to use to make the frame and marked where they needed to be cut. Hubby used a square to straighten my lines while Em and I watched from a distance (that little guy loves anything with a motor so watching Daddy with the saw was exciting). The dots on the chalkboard are rain- but since we’re last minute DIYers, we pressed on (because we had no choice).
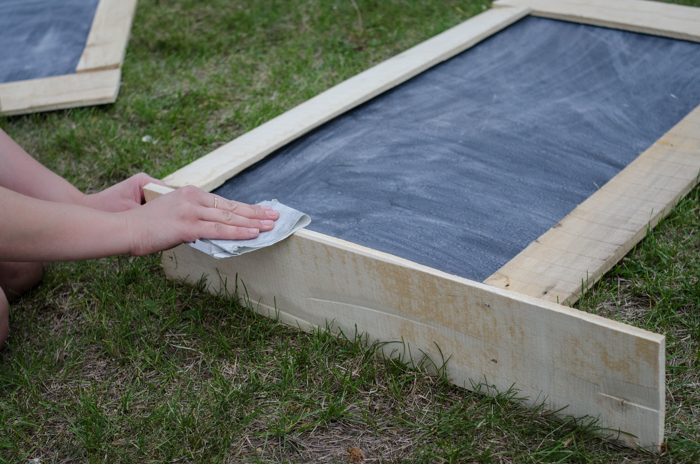
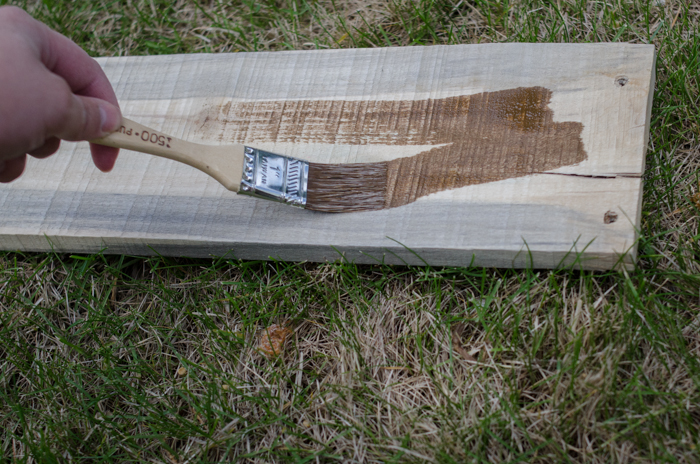
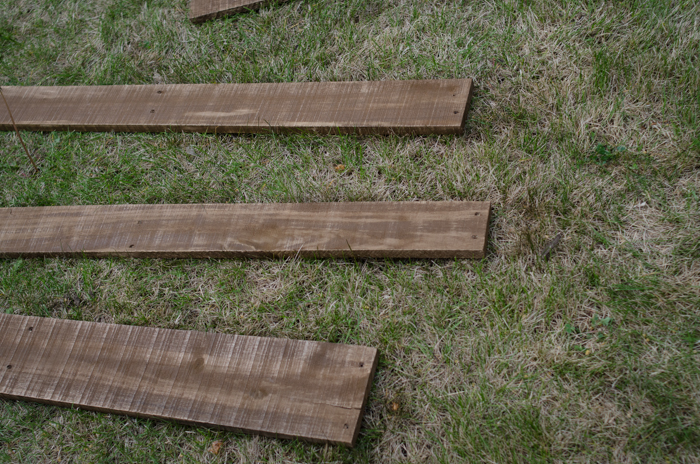
Next I did a quick sand on the cut pieces to get rid of the really rough spots- but still keep the beat-up texture. Then I stained the boards- I had the stain leftover from our floors and used a cheap paintbrush to get it on there as quick as possible. No matter how rushed- always wear gloves when working with stain- especially when you have to attend a party that day (lessons learned). Then you can walk away while your stain dries. Oh- if you love your lawn, you should probably lay a garbage bag out.
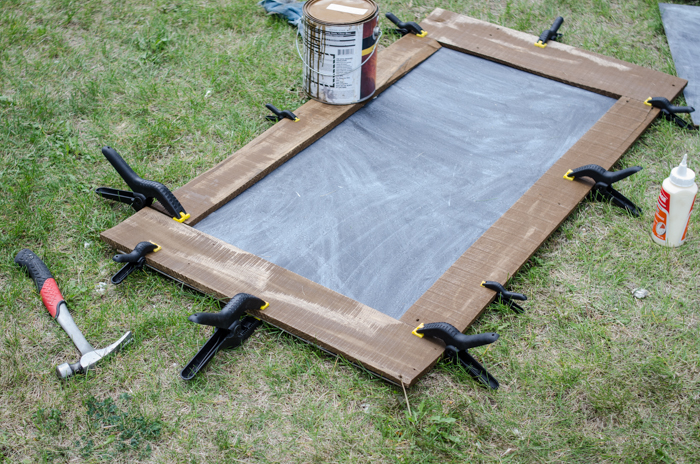
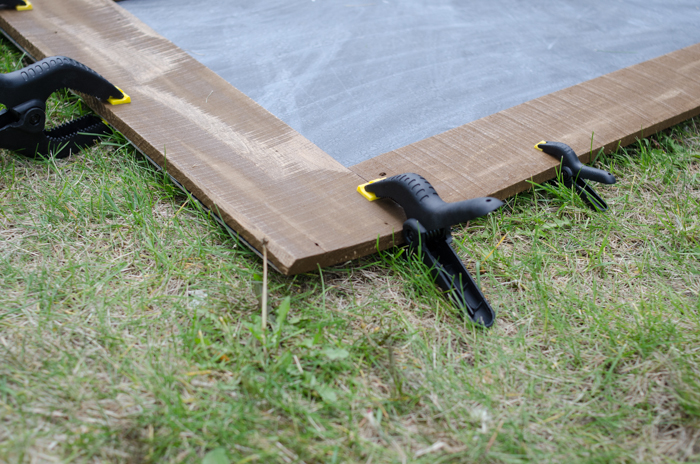
You’re almost done- I promise. Use a generous amount of wood glue *(or construction adhesive)* and lay your frame pieces out how you would like them. Since pallet wood is pretty warped, you’ll definitely need to clamp it down (or use buckets of paint and stain to squish it) while it dries.
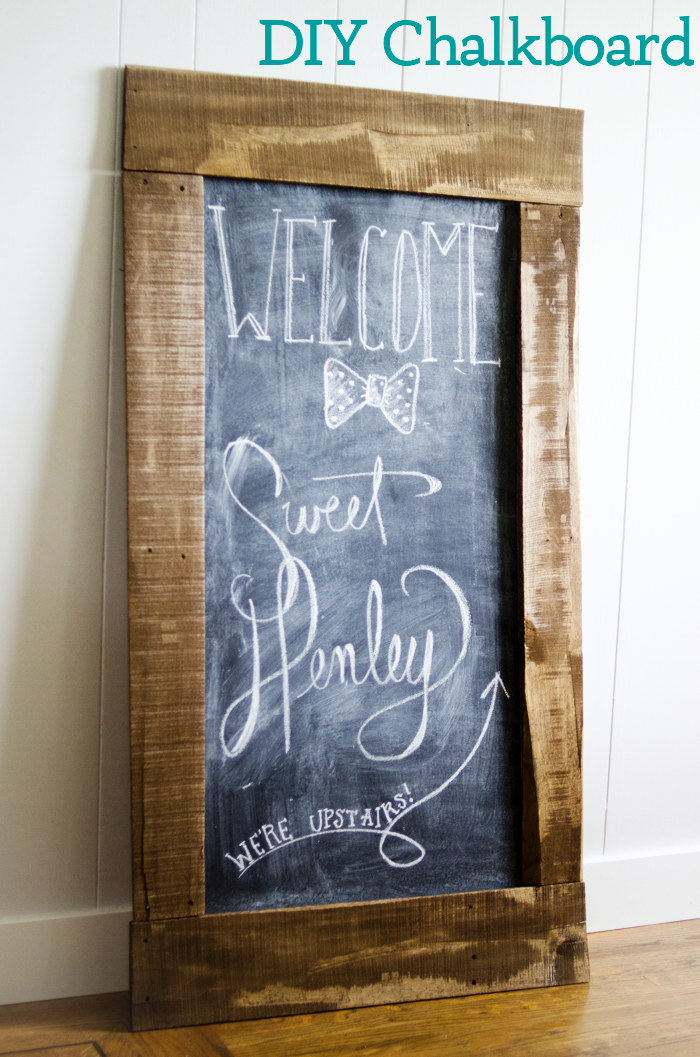
So that’s it! The quickest, easiest (and one of the cheapest) ways to make a giant chalkboard for that party that is tomorrow. I’m thinking about taking the two chalkboards and making them into a sandwich board with hinges and a chain… maybe another day though.

And since it was a 1 year old party- I thought I could at least share a photo of the sweet girl we were celebrating. But I’m going to do it throwback style because this year has gone so quickly. Last summer I photographed her as a newborn and so I’ve got my favourite one here for you… isn’t she adorable? Those squishy cheeks still get me.
Do you have any parties you could use a giant chalkboard for? I think I’m going to get some good use out of these guys. And how do you DIY… planned and proper or are you a last minute maker? Thanks so much for letting me take over The Girl Creative today- I’m so thrilled to have been here. If you liked this project I’m a bit of a sucker for chalkboards (and parties), so feel free stop over to LemonThistle and say hello!
The post DIY Giant Party Chalkboard originally appeared on Lemonthistle.com.
For more Pallet Project Ideas, check this out!!




Curious, what paint brand did you use? Is rolled better than spray?
You didn’t say how the chalkboard is attached to the frame. Or did I miss it? Is it just glued around the edges to the pallet wood frame?
This was actually a guest post so I’m not too sure. If you reach out to Colleen over at Lemon Thistle, she should be able to help you. It was her beautiful project. 🙂 https://www.lemonthistle.com/
This is fantassstic!!!! I love party signs too. I took note to use P.L. adhesive (which I’ll google?) and/or construction adhesive…did you get away with using nails and a hammer because of the glue and just glue the panels ? (Can the frame be done with adhesive alone and no nails?) you’ve inspired me ?thank you