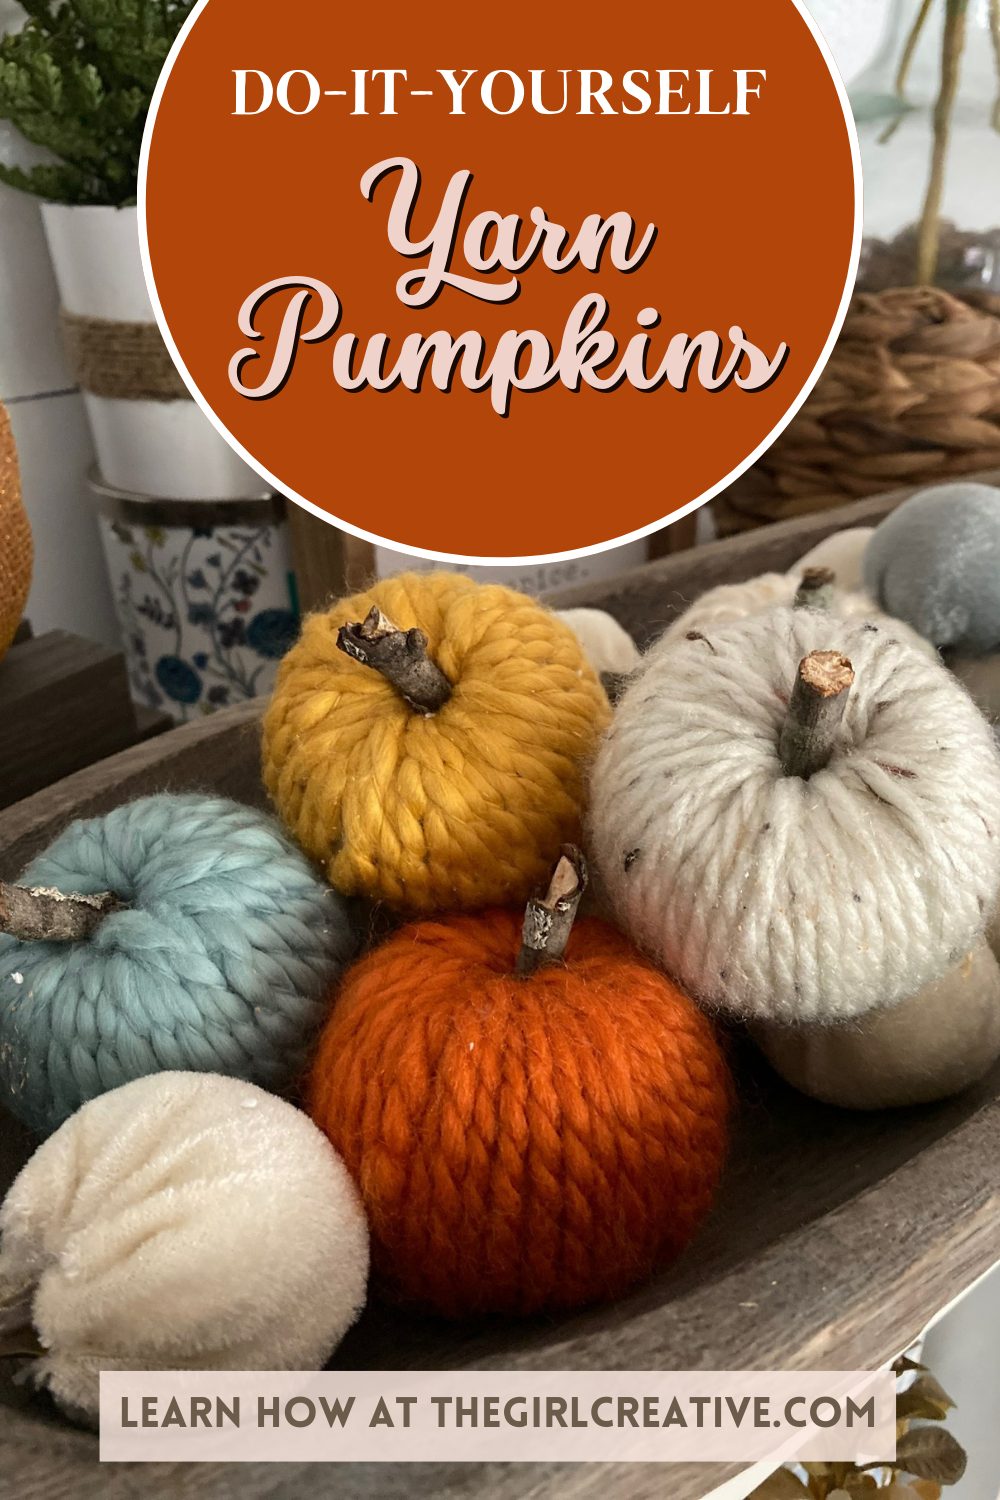
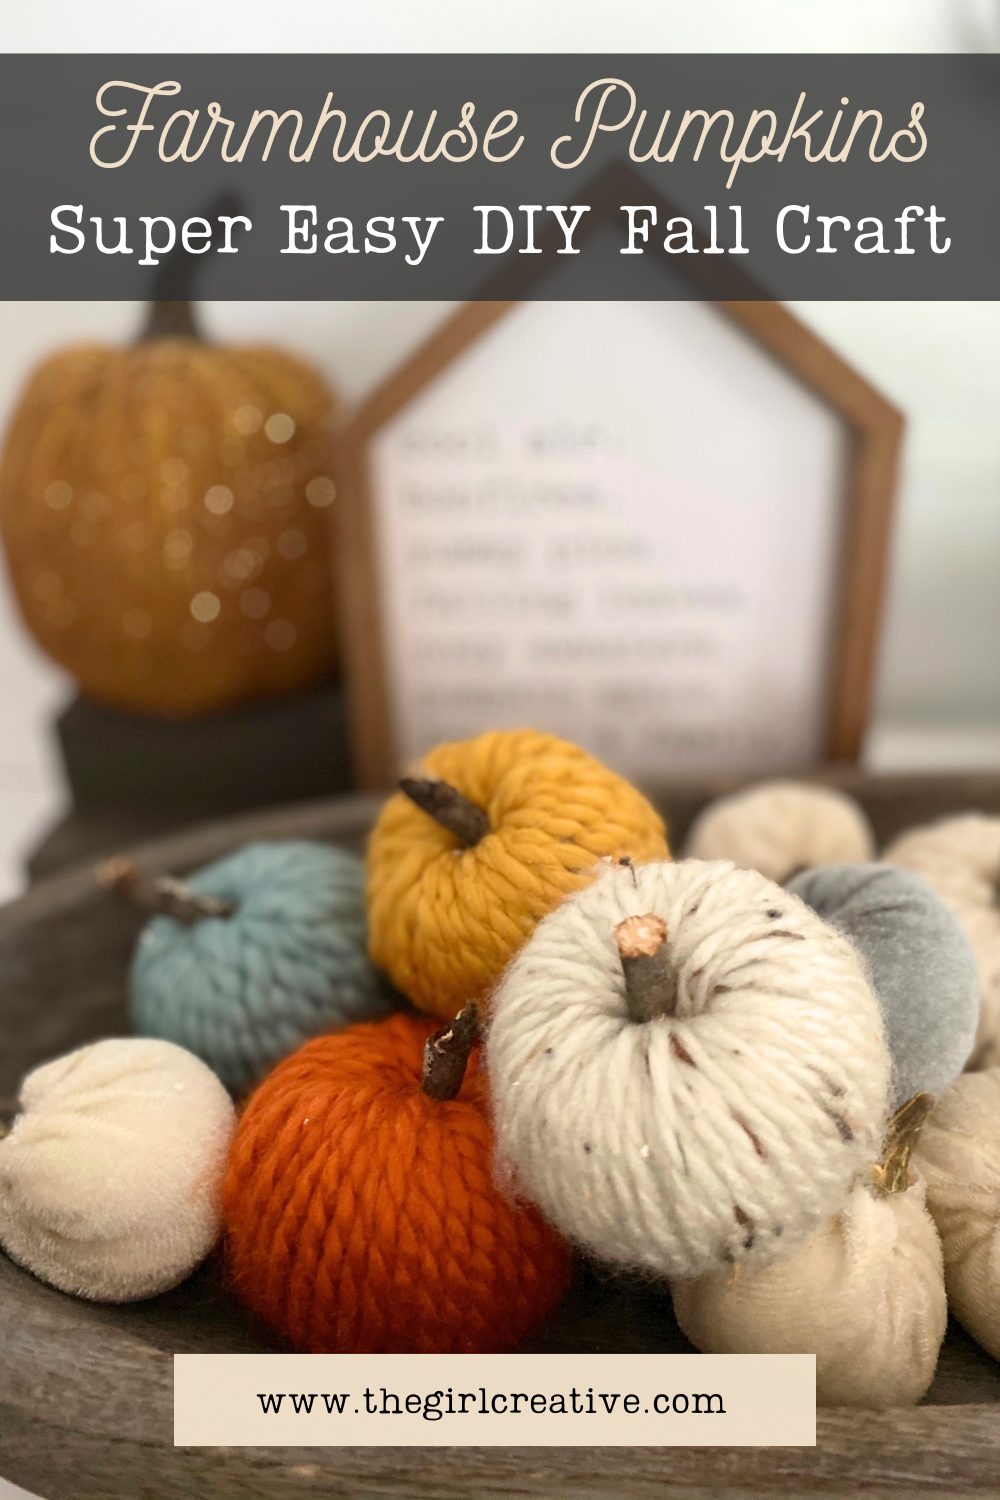
Faux pumpkins of all colors and sizes make the perfect fillers for baskets, dough bowls and large hurricane vases. Whether you are looking for some rustic, fall elements for your mantel or dining room table, these DIY Yarn Pumpkins are just the thing you didn’t know you needed.
School is officially back in session and if you’re a stay-at-home-mom who loves to craft and decorate for the seasons, you finally have time. With Autumn just a few weeks away, this Pumpkin Craft is perfect.

DIY YARN PUMPKINS TO DECORATE YOUR HOME WITH FOR FALL
I made these rustic farmhouse-looking yarn pumpkins a few years ago but they never made it to the blog. It’s one of my favorite craft projects to date and I’m excited to be sharing it with you today.
This month I’ve teamed up with some like-minded creatives and we are all sharing PUMPKIN CRAFTS with you.
Once you are done learning how to make these festive fall pumpkins, visit the links at the bottom of this post for more pumpkin craft inspiration.
HOW DO YOU MAKE A PUMPKIN OUT OF YARN?
There are several ways to make a pumpkin out of yarn but in this post we are focusing on making a pumpkin out of yarn and Styrofoam. This method is simple but preparing the styrofoam is a bit messy so keep that in mind when you choose a location to begin this pumpkin craft.
DIY YARN PUMPKIN SUPPLY LIST
- Styrofoam Balls
- Yarn
- Sticks or Twigs from Trees
- Knife
- Drill + 3/4″ drill bit
- Large Plastic or Metal Needle that can thread yarn
- Hot Glue Gun

SUPPLY NOTES:
YARN: I picked up some chunky yarn at Hobby Lobby. You can use any yarn but you will be wrapping the Styrofoam ball many, many times and using a thin yarn will take you much longer. I also love how much texture the chunky yarn brings to the pumpkin.
STYROFOAM BALLS: I wound up buys the balls from my local Dollar Tree as well as Hobby Lobby and Michaels. Your dollar store might be hit or miss but you will definitely find them balls at a craft store near you.
TWIGS/STICKS: I just went in my yard looking for sticks that had fallen from our trees. You only need 1 or do good ones (about a 1/2″ or so wide) and then you can just them down into about 2″ lengths.
HOW DO YOU COVER A STYROFOAM PUMPKIN WITH YARN?
Step 1: Using a sharp knife, cut the top and bottom off of the foam ball to make 2 flat surfaces. This will help with the pumpkin shape.
Step 2: Take your drill and drill bit and drill into the top of the ball. You will want to drill all the way through to the other side. Don’t worry if your hole looks kind of big. When you start wrapping the ball with yarn that hole will fill up quickly.
Step 3: Thread your needle and begin wrapping your foam ball with the yarn. You will need to put a little muscle into this process as you get to the point where you are almost done covering the foam ball with yarn. That hole in the center gets a bit tough to continue threading the needle through because of how much yarn is in there.
NOTE: Cut several long pieces of yarn and wrap/thread one at a time. When you get to the end of one, take the end of another and wrap over that end so that it doesn’t unravel. Secure with hot glue if you choose.

In the photo above is pictured a pipe cleaner. I didn’t have a plastic needle at first and made do with this folded pipe cleaner. It was a bit of a challenge and once I finally picked up the plastic needle, the process was much easier.

STEP 4: Once your entire foam ball is covered in yarn, secure the last end with hot glue. Lastly take your 2″ wood stick pieces and hot glue into the center of the pumpkin. Apply pressure so that the stick goes down a bit into the center of the pumpkin.
Now sit back and admire your work and continue making the rest of your DIY Yarn Pumpkins.

PUMPKIN CRAFTS FOR FALL
Take adorable to the next level with Upcycled Crochet Thread Ball Pumpkins created by Beth of Creatively Beth.
We are always in for the glam creations that Lindsay of Artsy Fartsy Mama makes with resin. Her Pastel Pumpkin Charms do not disappoint!
Liz with Liz on Call loves sharing her free printables with the world and we are all in for her modern patterned Pumpkin Coloring Sheet.
Take your water coloring skills to the next level with a fun and funky Free Pumpkin Template and Tutorial from Heather at Homemade Heather.
Blanca from Creativities Galore is all about the glitter with her sparkling DIY Pumpkin Bookmarks. Click through for the full instructions.
We love a good project that fools our eye and this Cement Look Pumpkin Cup from Candice of She’s Crafty has us all doing a double take.
Transform your mantel with simple supplies from the Dollar Tree with Michelle of Michelle’s Party Plan-It. Her Pumpkin Mantel Décor is elegant enough to leave up all season long.
Beth with the Ruffled Daisy shows us how to create an Aged Metal Pumpkin with simple supplies and a full tutorial.
Marissa from Rae Gun Ramblings has created a complete tutorial covering all of her Painted Pumpkin Tips and Tricks, so check them out today.
Learn how to Create a Pumpkin Landscape by Color Matching Paint and Markers with a full tutorial from Jenny of Jenny’s Crayon Collection.
Take a simple plaque to the next level with a colorful DIY Stained Wood Pumpkin created by Laura of Me and INKlings. Click through to see how she made it!
