I bring you the $1 Pumpkin Makeover! The Dollar Spot at my Target is straight ahead when you first walk in the door. Totally convenient! I always take a stroll through there first and grab a few little things. I especially love hitting that section around the holidays. So many neat (and cheap) things to buy!
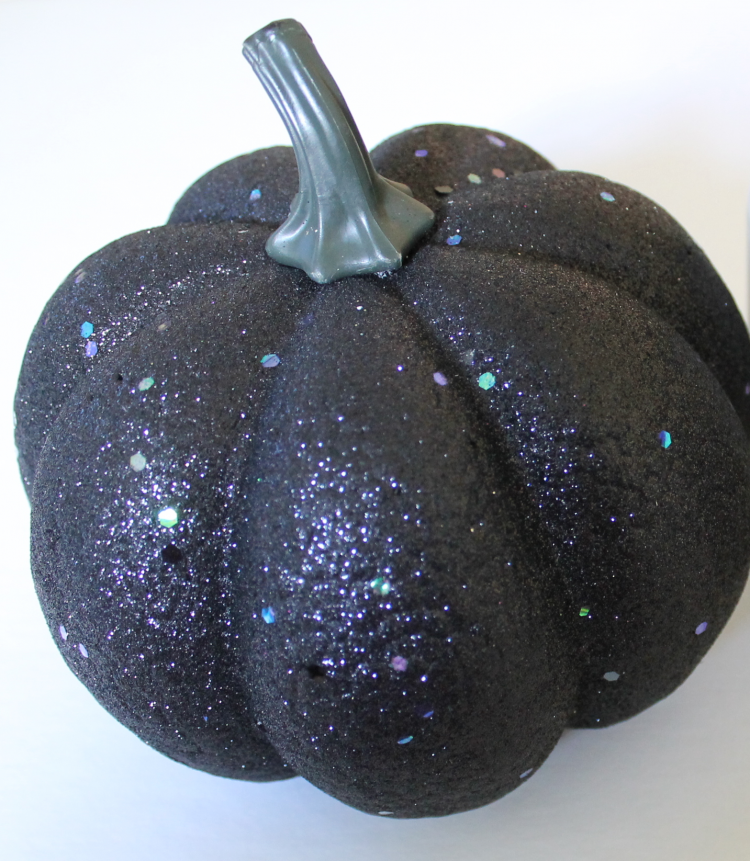
I came across this black stryrofoam pumpkin for a buck and new exactly what I wanted to do with it. I had all of my supplies on hand so it literally cost me one dollar. I’m sure you will have the supplies on hand too!
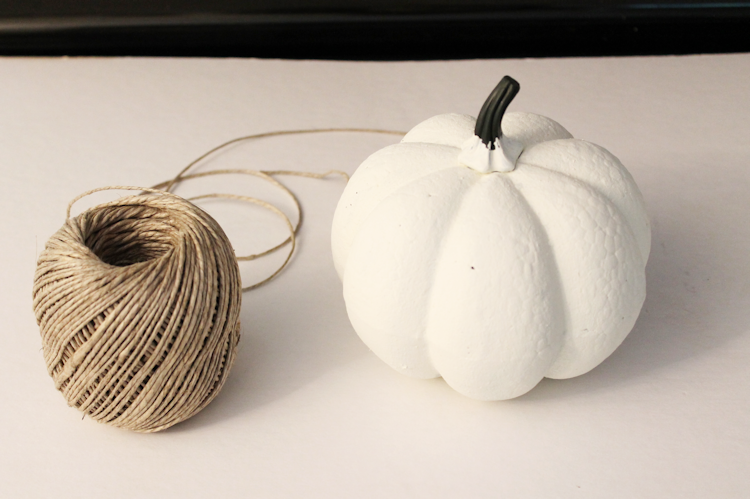
To turn your pumpkin from dark and dreary to bright and rustic, you’ll need white paint, twine (or jute) and a hot glue gun. You only need to paint the pumpkin. You can leave the stem alone since you will be wrapping it in twine.
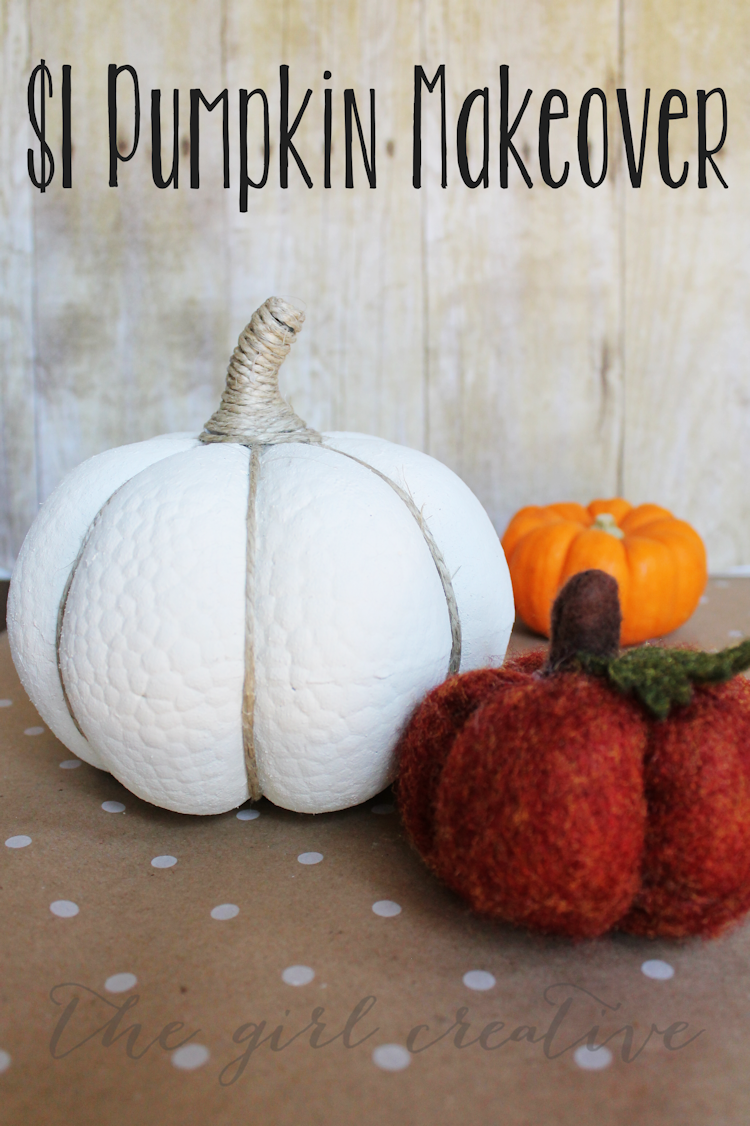
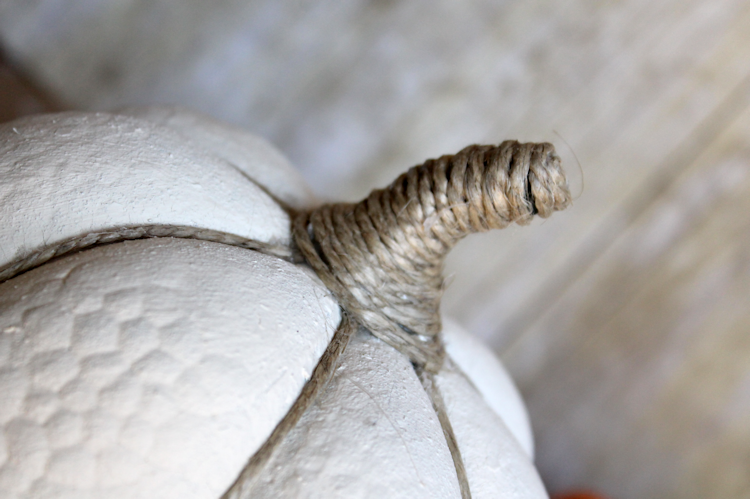
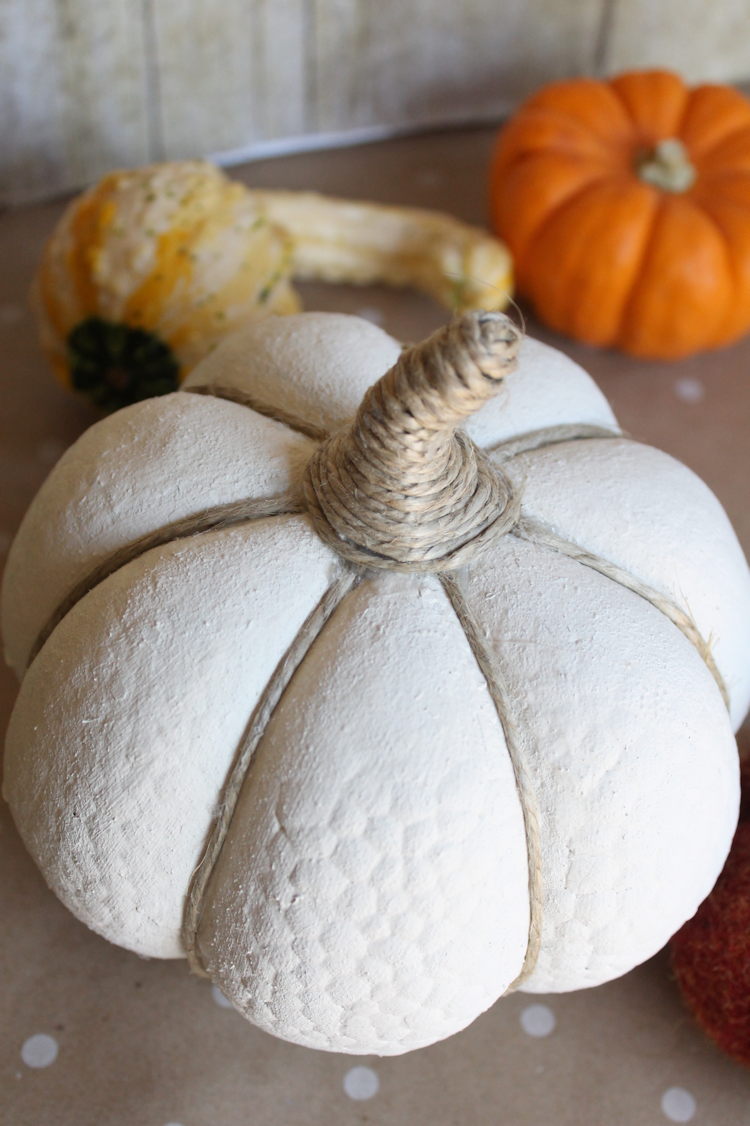
Once your pumpkin is painted and dry, you are going to hot glue a piece of twine at the top of one of the creases. Bring it down and hot glue it on the bottom. You will do this for each crease in the pumpkin. Once all creases have twine in them, hot glue an end of twine to the top of the pumpkin stem and start wrapping twine around the whole stem. Hot glue as you go and end at the bottom of the stem.
Now you have a rustic little pumpkin for your fall decor and no one will ever know that you only paid a buck for it.
Here’s a little before and after for ya!
I’ve teamed up with a group of 75 bloggers to share tons of Fall Harvest Ideas with you! From crafts, to recipes, to home decor and more…we have you covered for Fall inspiration!
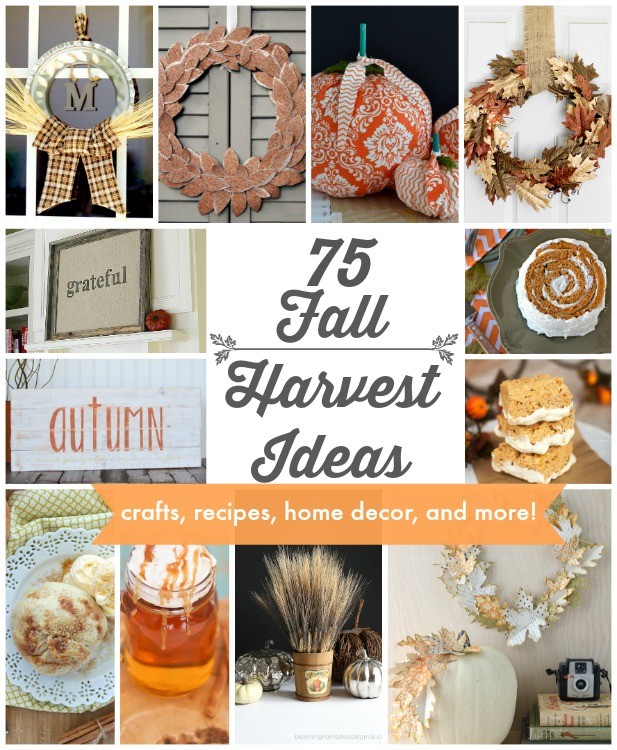
Check the gallery below and visit some of my blogging friends to see their awesome ideas!!


This is adorable. I don’t think I have ever found a pumpkin like that for $1 but I am going to keep my eyes open now. LOL! Thanks for sharing.
Thanks so much, Michelle. 🙂
Such a great transformation! Can you share what font was used in “before” and “after”?
It’s called KG Two is Better than One 🙂
Thank you so much!
Great job, super cute!