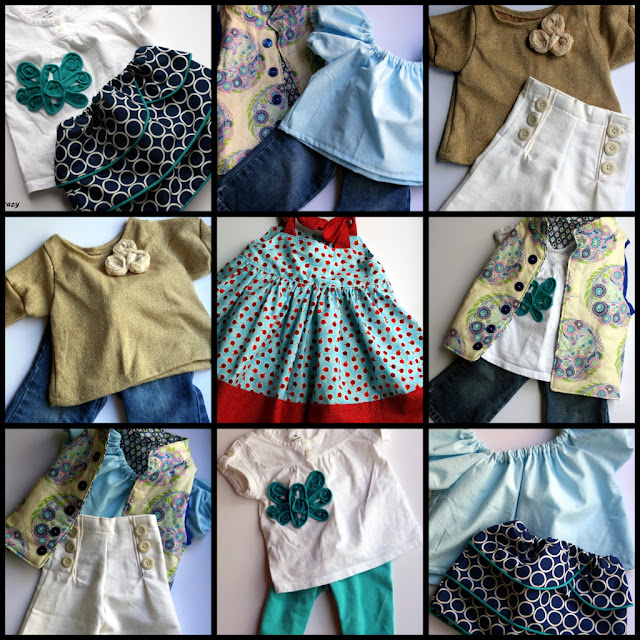
Over the next couple of weeks I will be showcasing a Spring Collection made for my 1 year old niece’s first birthday at my blog Me Sew Crazy, and I simply knew Sailor Pants had to be included in this little one’s wardrobe!
I tossed and turned, lost sleep, and day dreamed constantly trying to figure out in my head how to make these little guys…until finally, while putting my eldest daughter down to sleep one night, it came to me!
Now remember, I am a self-taught sewer…so for all of you professionals out there – I am sure there is some better, more professional way. But in the meantime, this is what I came up with that fateful night and I want to share with you :).
For your free Sailor Pants tutorial, click HERE.
And for more of Sienna’s Spring Collection, click HERE, where I will be rolling out tutorials over the next couple of weeks!
Of course, since these were made I have come across another way to tackle Sailor Pants using pockets…maybe I will give that a go one of these days :).
Until then…Happy Sewing!

XOXO
Diana
www.thegirlcreative.com


These pieces are all adorable! It almost makes me wish that I had a girl!
I have a pair of sailor pants in the works for my 7 month old’s easter outfit….I love the classic look. Fabulous
Those are so darn cute!!!! I LOVE the buttons!
Oh how adorable! 🙂
Wow! The sailor pants are super cute and the whole collection looks awesome!
So cute! I love the details on the pants.
Sailor pants are on my list of things to make for myself. I love the way your little ones turned out. The whole wardrobe is adorable and so fun. Love it.
Jessica I think you are crazy talented!
Thanks for sharing! I don’t have girls of my own but lots of little girl’s birthdays coming 😉
You are so talended. I love all the clothes!
They are absolutely adorable!! I wish I had some grand babies to make them for :O)
Dropping by from Sumo’s Sweet Stuff Monday.
Had to link up! Love these, they are cuuuute.
I’m working on the sailor pants, but I’m having trouble understanding the step where you attach the button flaps to the other flaps (the interfaced ones. Am I folding in the seam allowance on the button flap and inserting the interfaced flap? Am I folding in then laying the interfaced piece on top and stitching together? Or am I folding both sides of the button flap to one side (rather than into the center?
I’m sure it’s simple answer…but I have a knack for making it complicated in my head. 😛 Help?
I click the cluck here for tutorial but takes me to google docs. How do I get the actual tutorial?
I’m working on getting it fixed.