Paper Bag Snowflakes – Wait until you see the most magical DIY paper bag snowflakes and all the beautiful ways to add them to your holiday decor!
As winter approaches, there’s no better way to get into the holiday spirit than with some festive DIY decorations. One of the most charming and budget-friendly projects you can try is making paper bag snowflakes.
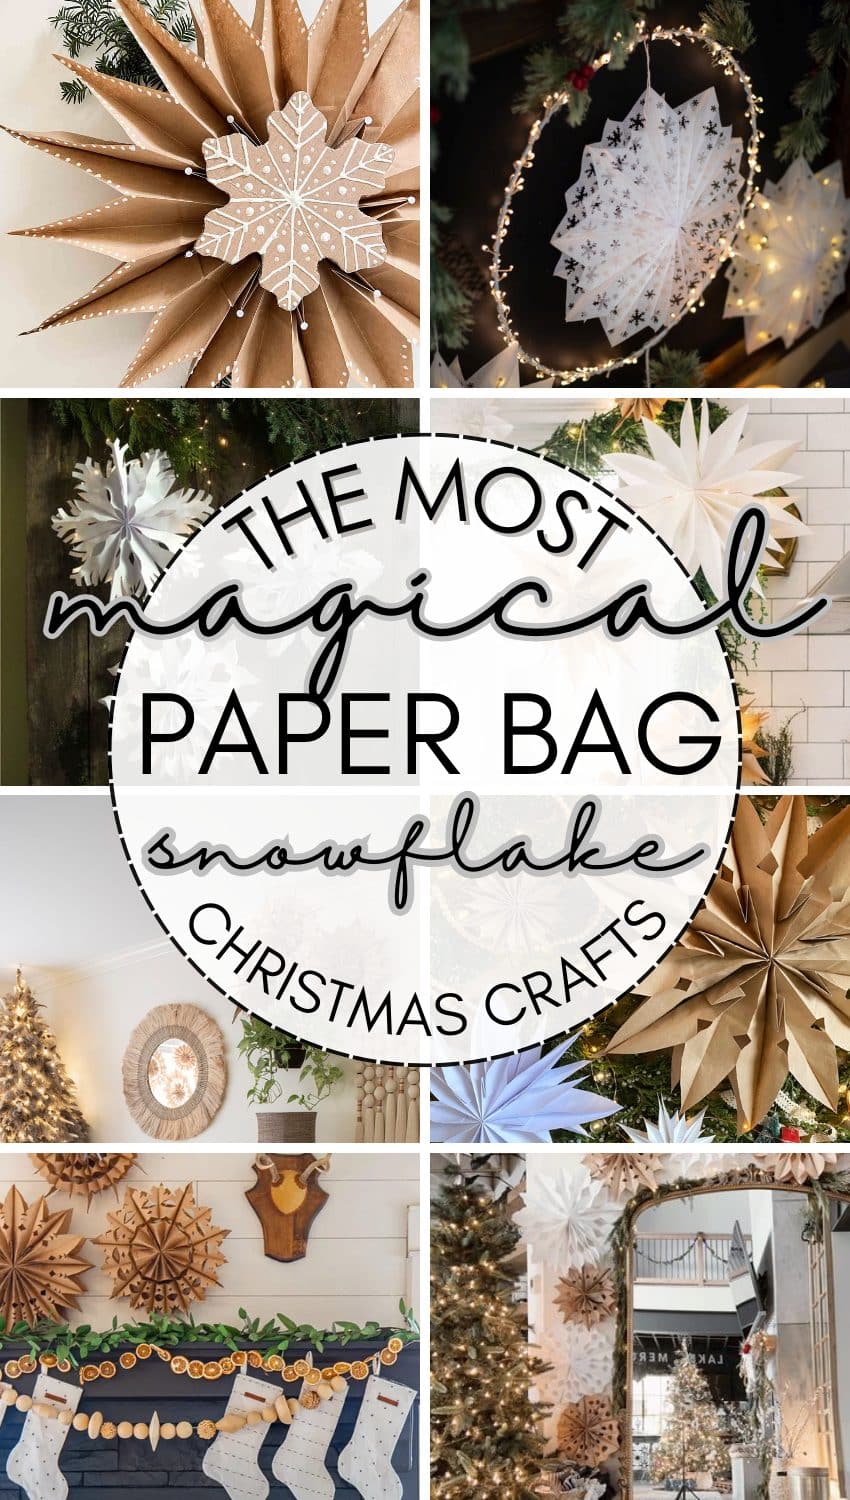
In this blog post, we’ll show you how to create these beautiful snowflakes from simple paper bags and provide creative ideas for incorporating them into your seasonal decor.
There’s something about simple Christmas crafts that make my heart happy. As a working and homeschooling mom, I don’t have time for crafts that take a lot of time.
The easier, the better. Major bonus points if they’re cheap too!
Enter paper bag snowflakes!
DIY PAPER BAG SNOWFLAKES
As kids we grew up making snowflakes out of folded paper. I mean, it was kind of “the” thing to do around the holidays.
In fact, I still see traditional paper snowflakes on display in classrooms and homes.
Leave it to this generation to take things up a notch and reinvent the art of paper snowflakes.
I’m not sure who came up with the idea to use paper bags or paper lunch sacks for this snowflake craft, but I’m sure glad they did.
Wait until you see all of the beautiful ways to display them in your home this holiday season. Keep them up way past Christmas and New Years and you can have winter wonderland in your home until Spring.
SUPPLIES YOU’LL NEED TO MAKE PAPER BAG SNOWFLAKES
Before we dive into the creative decorating ideas, let’s gather the materials you’ll need to make these beautiful paper bag snowflakes and paper bag stars:
- Brown paper lunch bags or white paper bags (also known as lunch sacks)
- Scissors
- Paintbrush (optional)
- Glitter (optional)
- Hole punch
- Twine, ribbon or fishing line
- Hot Glue, liquid glue or glue stick
- Decorative embellishments (optional)
- Fairy Lights
- Command Hook(s) (optional)
- Paper Clips (optional)
EASY STEP-BY-STEP INSTRUCTIONS ON HOW TO MAKE PAPER BAG SNOWFLAKES
The number of bags will vary from 8-10 to make the best paper bag snowflakes but I used 8 and was happy with the outcome.
- Flatten your brown paper bags with the fold facing down.
- Make a line of hot glue down the center of your first bag and then a line across the bottom (forming a “T”). Grab the next paper bag and place it on top of the glue.
- Repeat step 2 until all of your bags are on top of each other being sure to add the glue “T” to each one.
- Cut off the top of the bag (the open end) creating a rounded shape (or the shape of your choosing) and this will be the outer edge of your snowflake
- Use scissors to cut various shapes and patterns into sides of the paper bags. These can be classic snowflake patterns or your unique designs. Make sure to cut away portions of the paper to create openings within the snowflake. NOTE: leave a small space of uncut bag between each design you cut into the sides.
- Carefully unfold your paper bag to reveal the intricate snowflake design. Add another glue “T” to the top bag and glue both top and bottom together to complete the snowflake.
- Once your snowflakes are cut out and assembled, you can brush glue and glitter on them to make them sparkle or leave them as is.
- The last step is to punch a small hole at the top and string a piece of twine, ribbon or fishing line through for hanging. NOTE: to prevent the hole in the snowflake from tearing, add a piece of scotch tape before punching the hole.
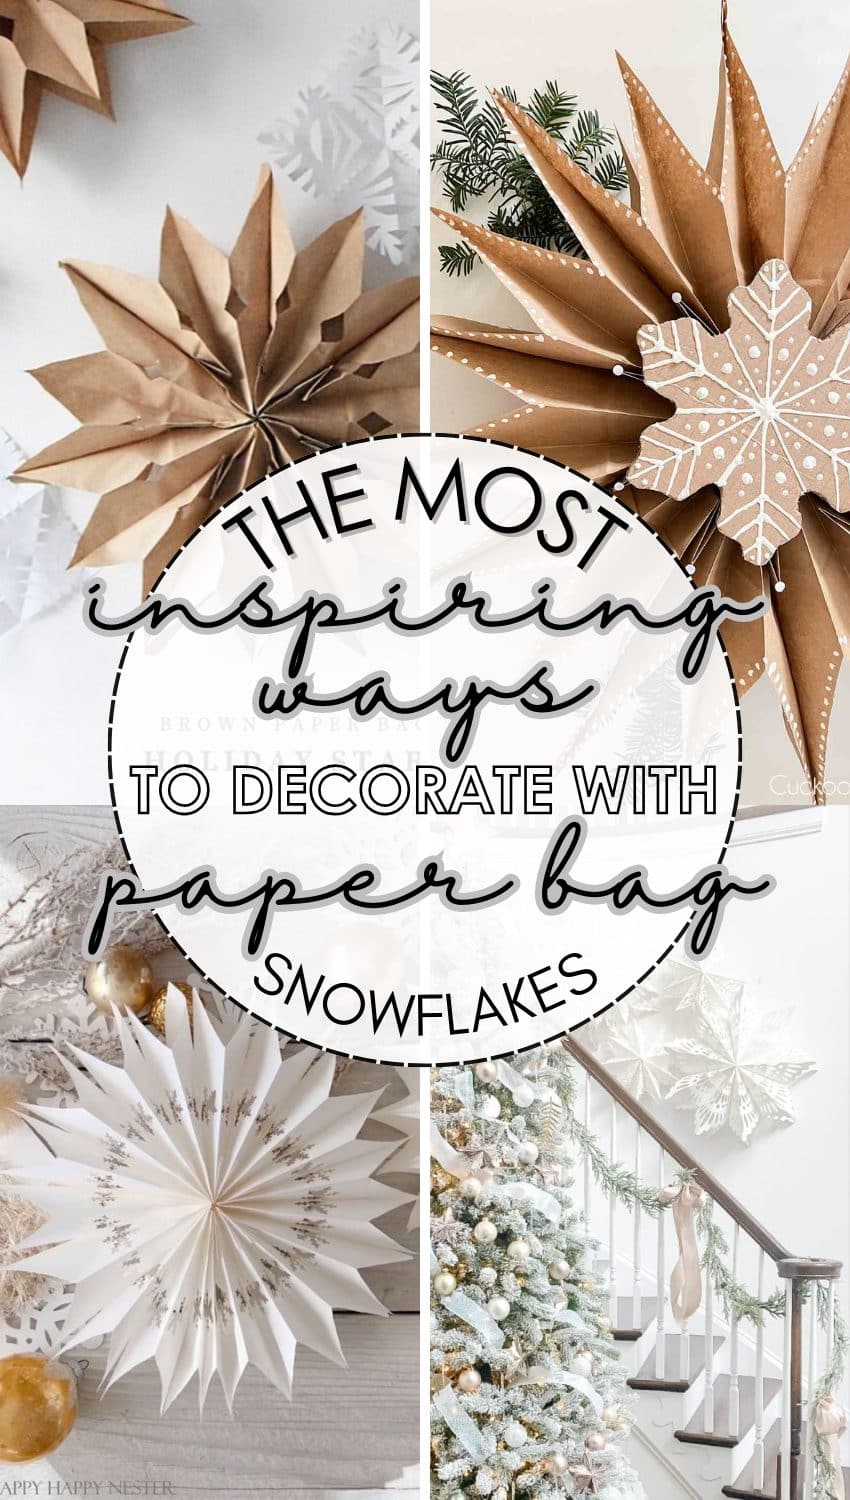
CREATIVE WAYS TO DISPLAY PAPER BAG SNOWFLAKES IN YOUR HOME DURING THE HOLIDAYS
Now that you’ve made your beautiful paper bag snowflakes, let’s explore some creative ways to incorporate them into your winter decor:
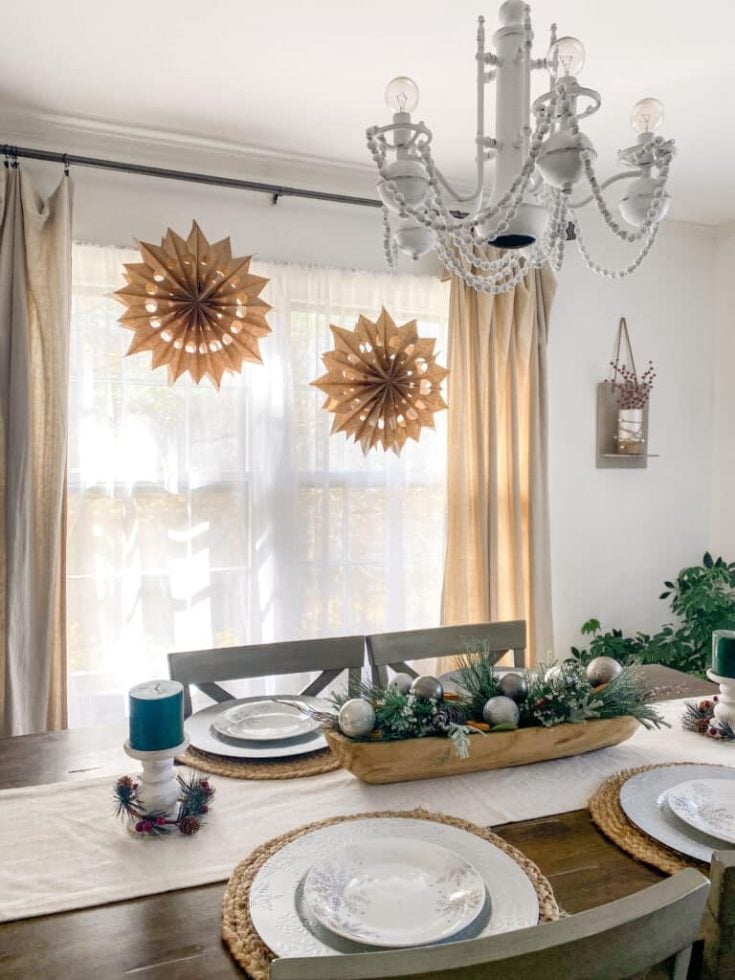
- Window Decorations: Hang your paper bag snowflakes from the curtain rods or suction cups on your windows. They’ll catch the light and create a mesmerizing wintery atmosphere in your home.
- Chandelier Adornments: Attach your snowflakes to your chandelier or pendant lights using twine or ribbon. This will give your dining area a magical and enchanting vibe.
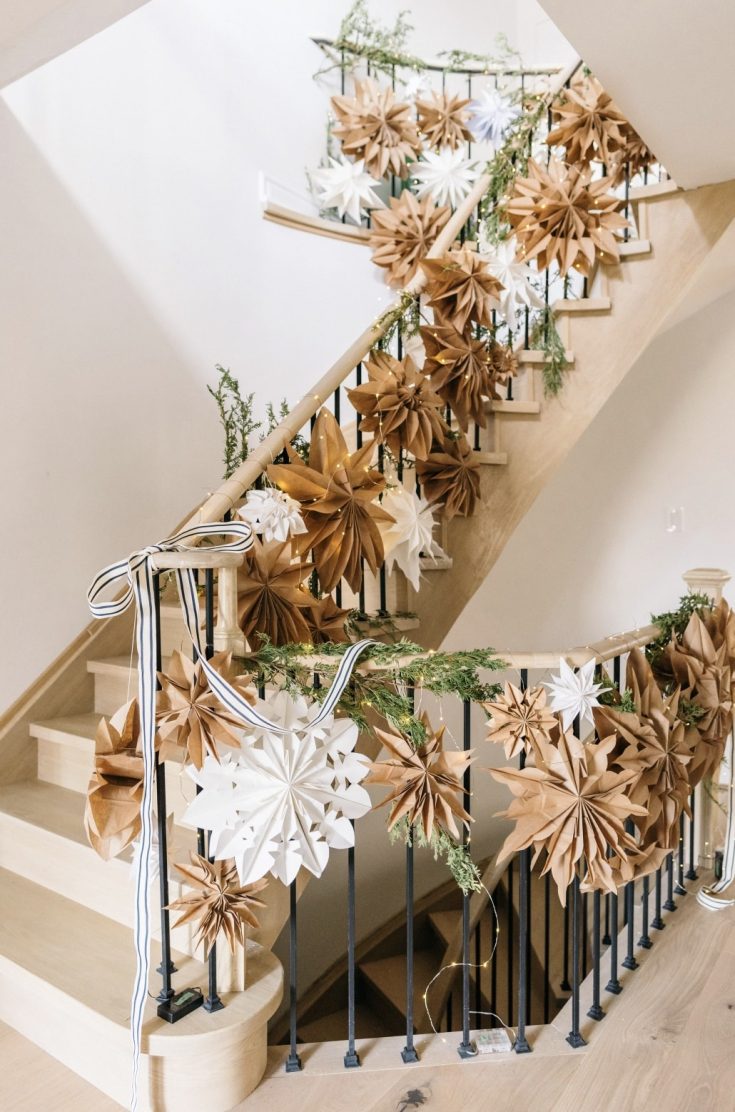
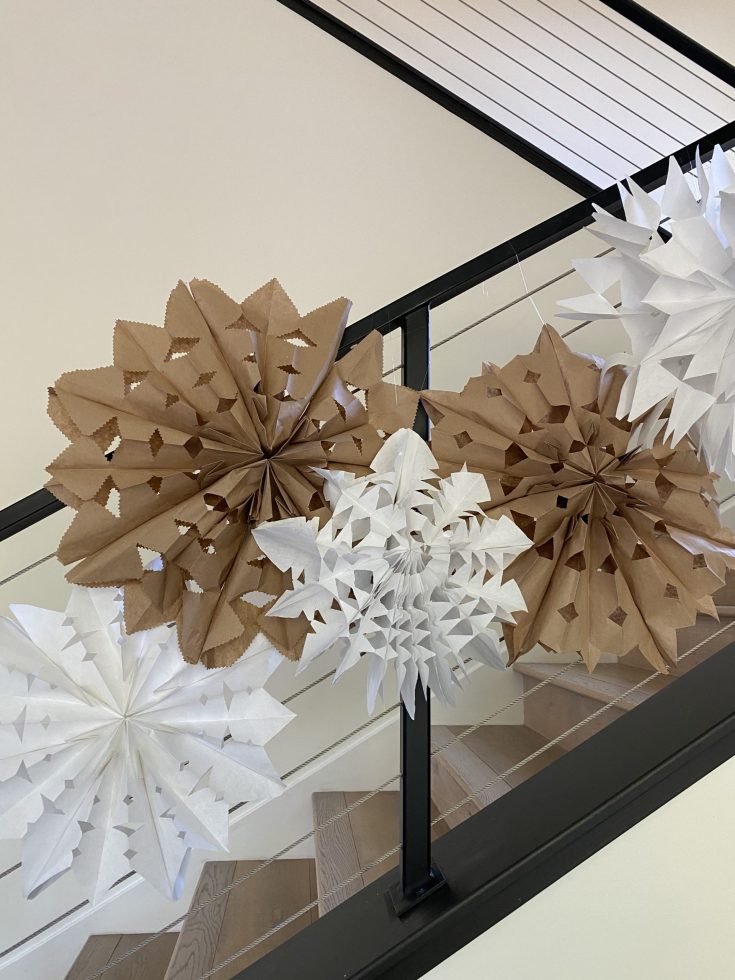
- Snowflake Garland: String multiple snowflakes together with twine to create a snowflake garland. Hang it on your mantel, staircase, or walls for a festive touch.
- Table Centerpiece: Place a few paper bag snowflakes on your dining table as a centerpiece. You can arrange them around candles, vases, or even in a decorative bowl for a captivating display. This idea works best by using small paper sacks for the snowflakes.
- Gift Toppers: Use smaller snowflakes as gift toppers or even as gift tags. Simply attach them to your wrapped presents with a ribbon.
- Holiday Wreath: Attach your paper bag snowflakes to a wreath base and paint the base with white paint. Add some glitter for a sparkling finish to create a unique holiday wreath.
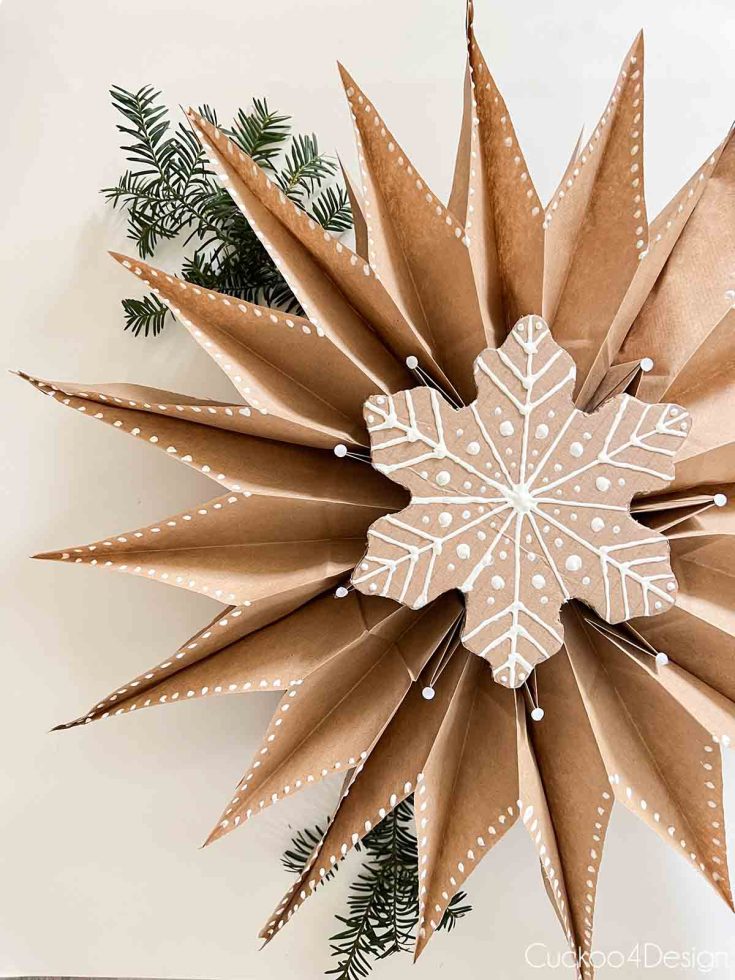
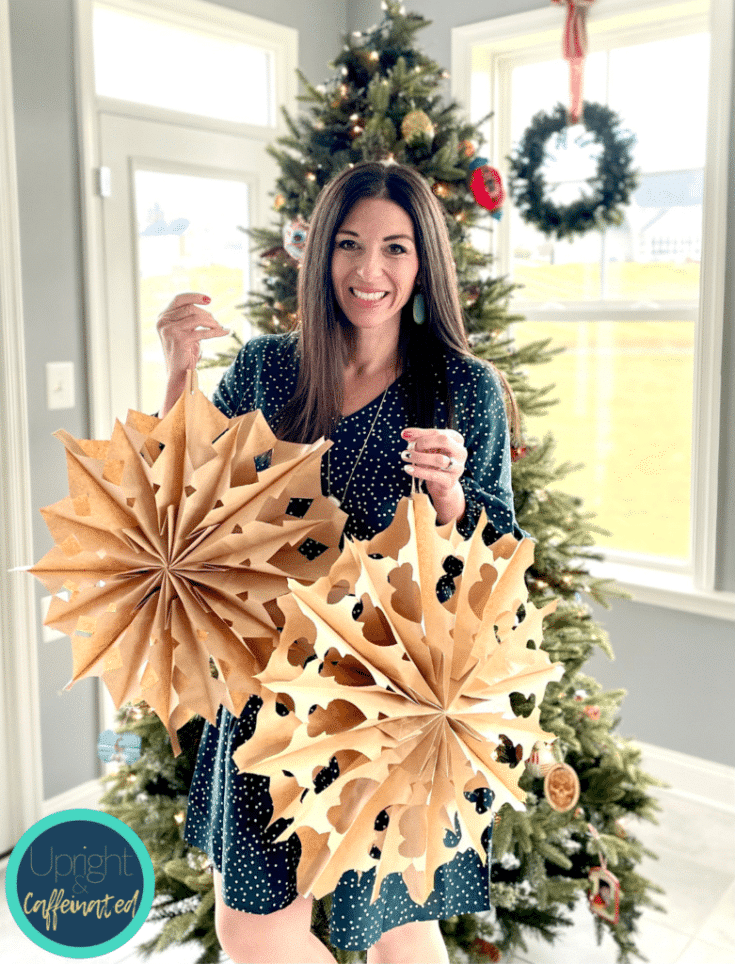
- Kitchen Cabinets: A great way to display these giant snowflakes is by hanging one on single command hook placed on the inside of a cabinet door. This is an inexpensive way to add holiday decor to your kitchen.
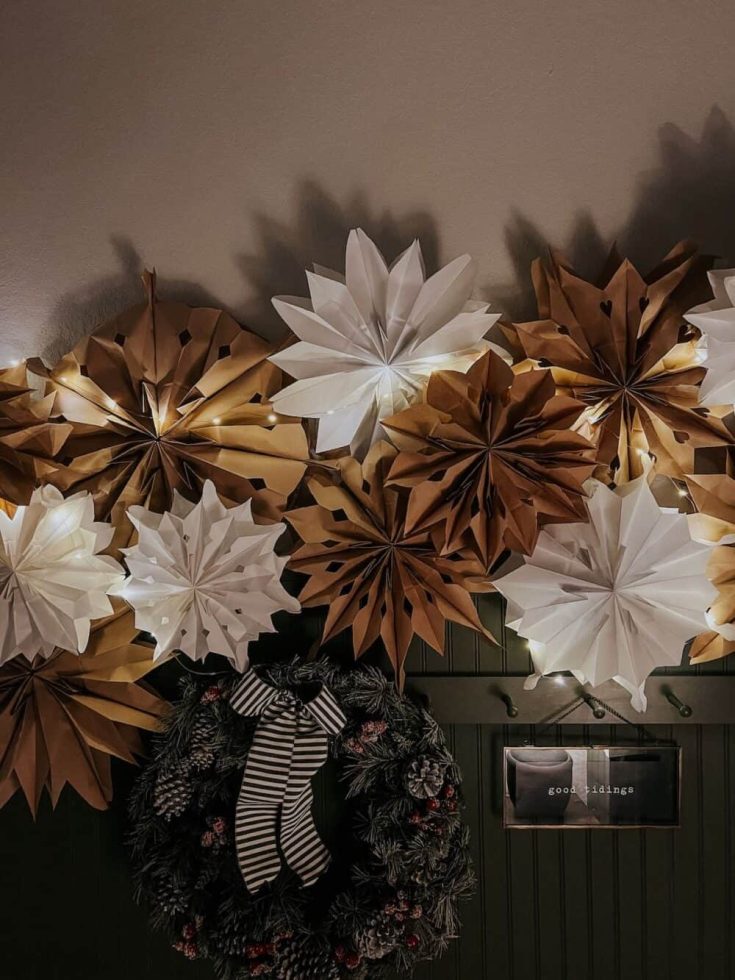
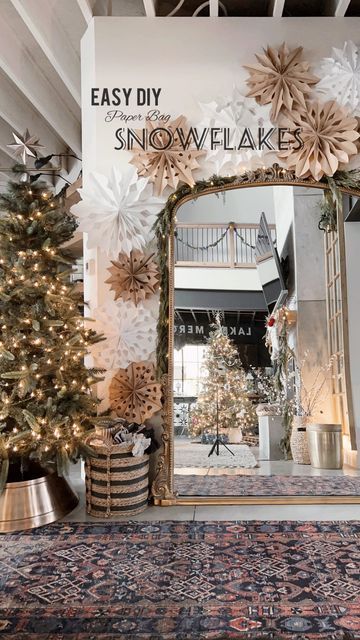
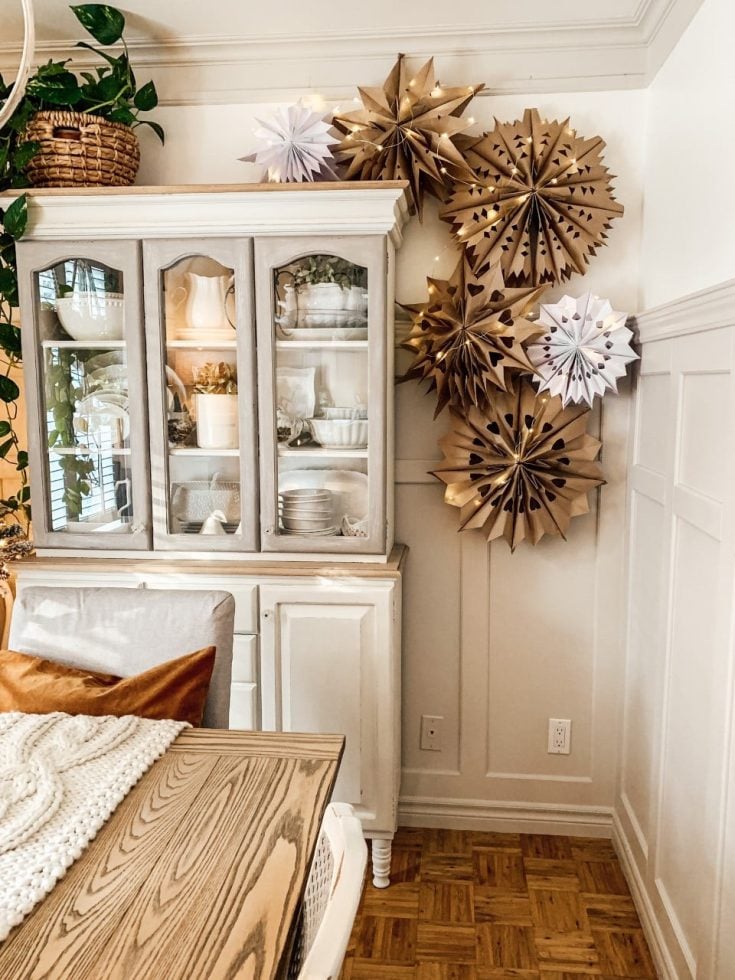
- Dining Room: If you have an accent wall in your dining room, hanging these paper bag snowflakes is the easiest way to bring in some simple holiday decor to that space. Alternate different shapes
Paper Bag Snowflakes DIY Christmas Craft
21 gorgeous paper bag snowflakes that are easy to make and that will add an element of rustic, farmhouse charm to your home during the Christmas and winter season.
How To Create Easy $1 Paper Bag Snowflakes
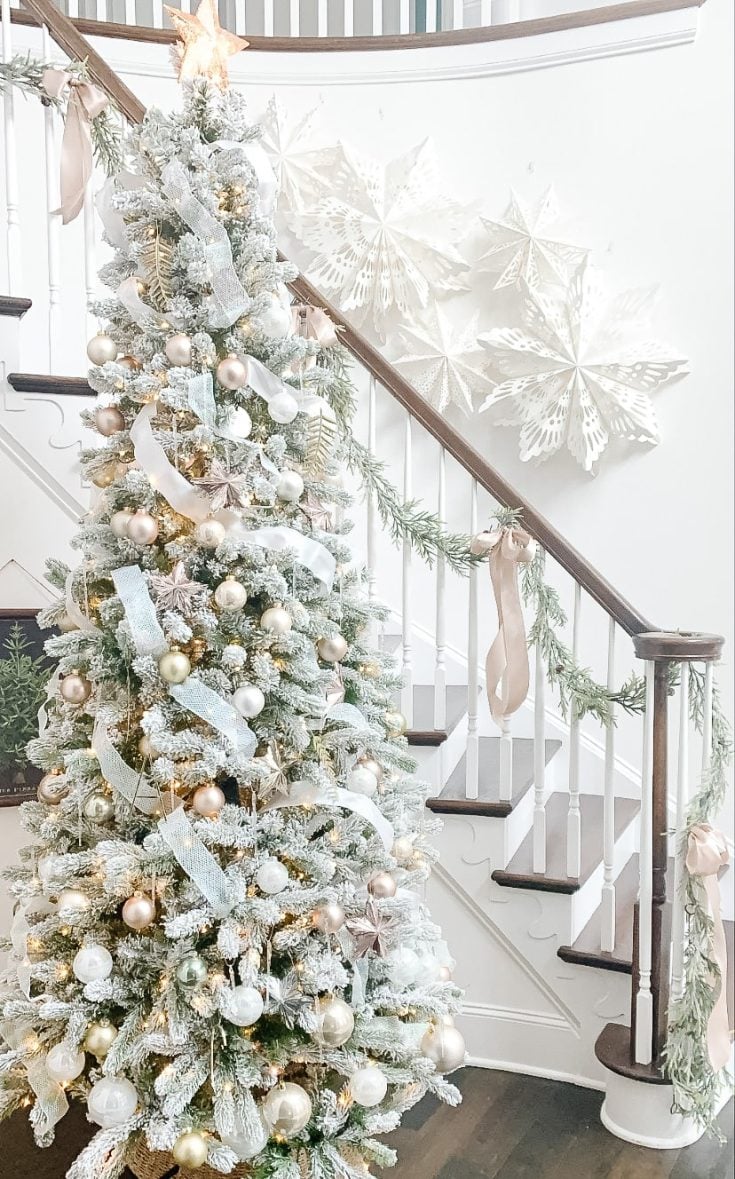
Decorate the banisters in your home with gorgeous paper bag snowflakes and greenery. This creates a rustic, neutral farmhouse vibe in for the Christmas season.
DIY Paper Bag Snowflakes (Easy DIY Christmas Decoration)
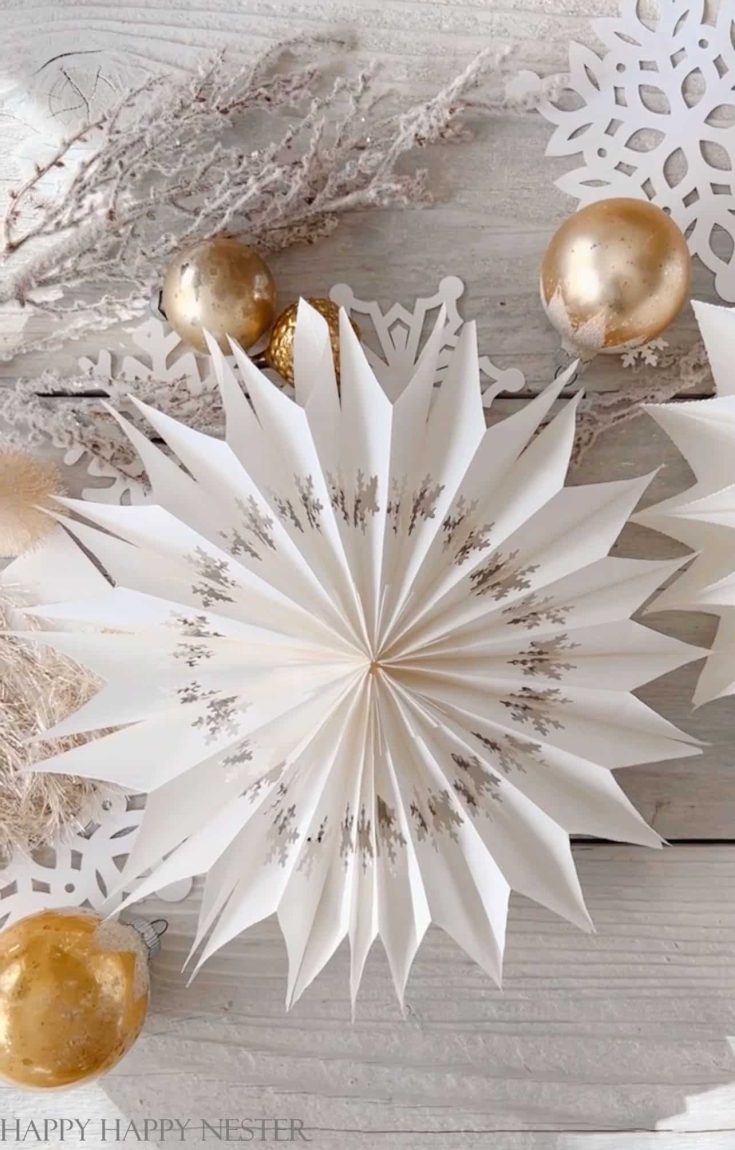
I'm dreaming of a white paper bag snowflake Christmas!
How to make 3D paper bag snowflakes using lunch bags
This post is full of beautiful inspiration and template ideas for paper bag snowflakes.
The Easiest DIY Paper Bag Snowflakes
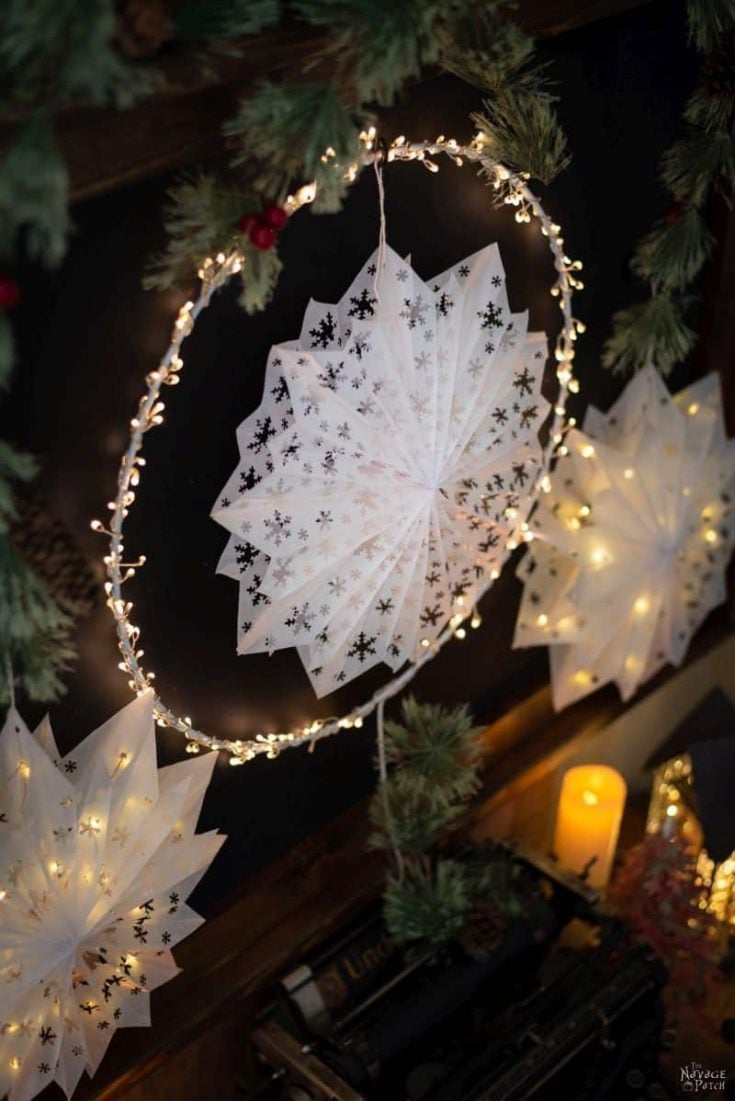
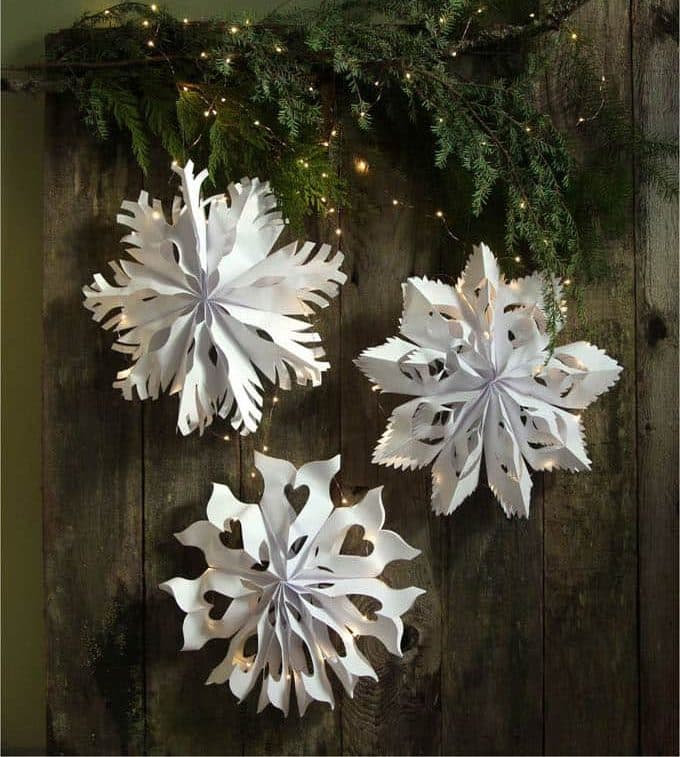
These brown and white paper bag snowflakes make such an impression, especially when paired with fairy lights.
DIY Paper Bag Snowflakes
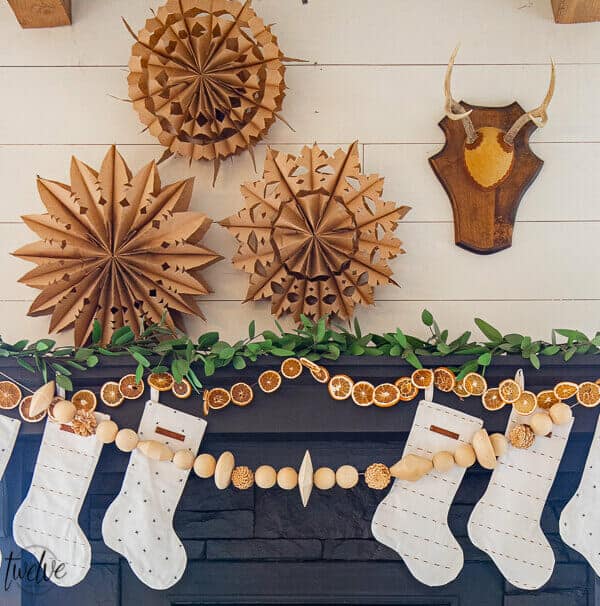
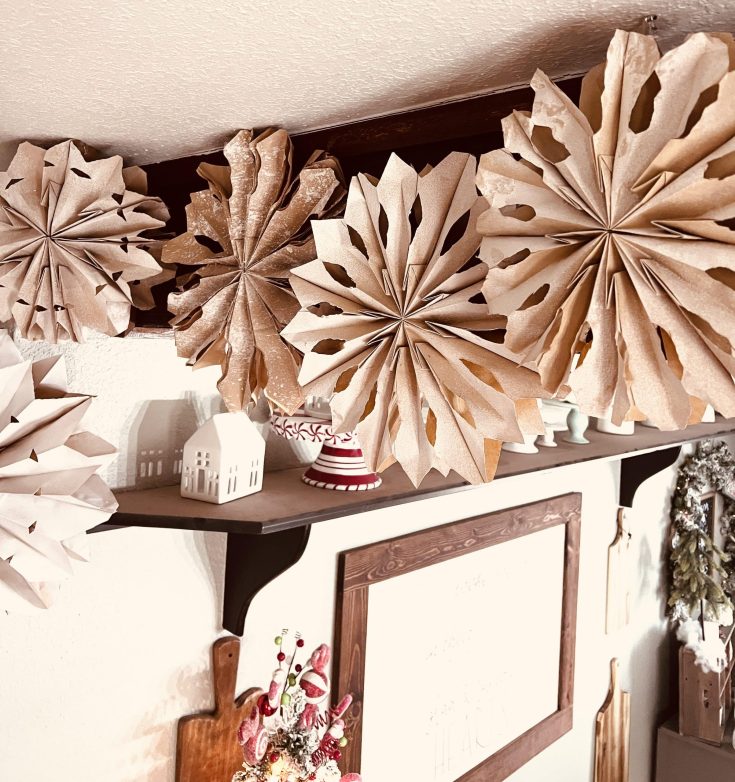
Fill the space above your holiday mantel with neutral paper bag snowflakes that you can make with just 3 supplies!
Giant 3D Paper Snowflake Decorations from Paper Bags
This post from A Piece of Rainbow comes with beautiful and unique paper snowflake patterns. Head on over to get them.
Easy Paper Bag Snowflakes Tutorial
Grab those paper punches you've had for years and didn't want to part with. They are perfect for these unique paper bag snowflakes.
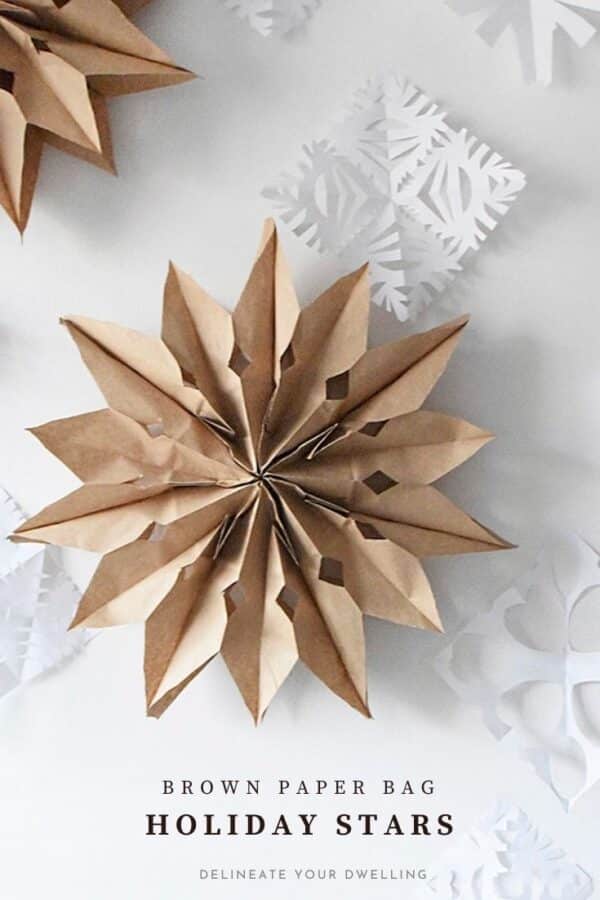
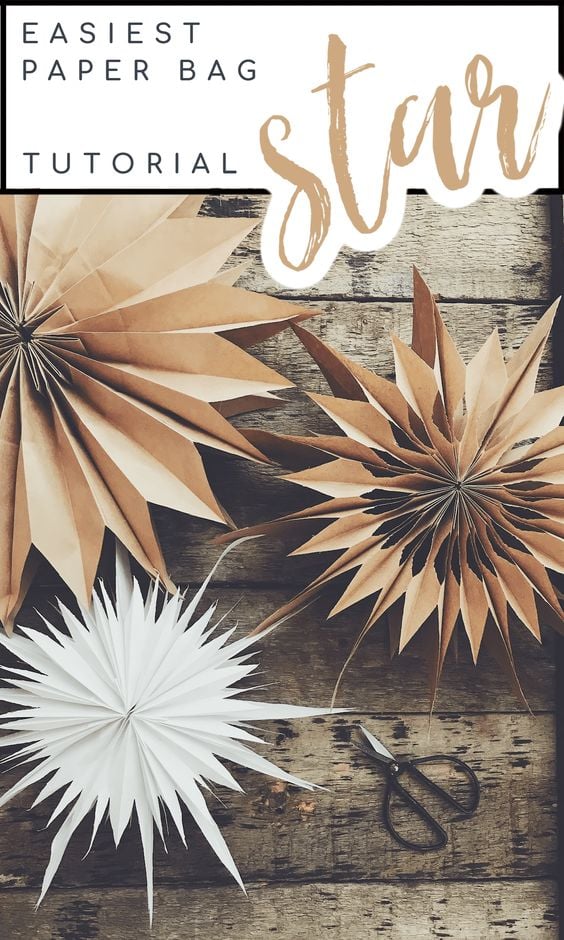
Paper Bag Stars
I love this combination of classic, old school paper snowflakes mixed with paper bag snowflakes. What a fun way to add some variety to your Christmas decor.
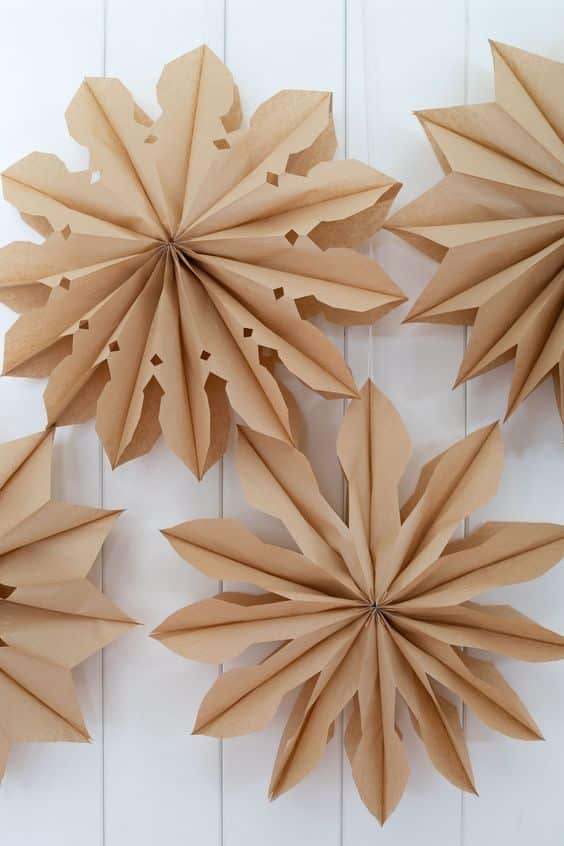
Simple Brown Paper Bag Snowflakes
So many beautiful, cozy Christmas decorating ideas in this post from my sister, Kate, at A Hundred Affections but check out #19 for details on how to make simple paper bag snowflakes.
DIY Paper Bag Stars
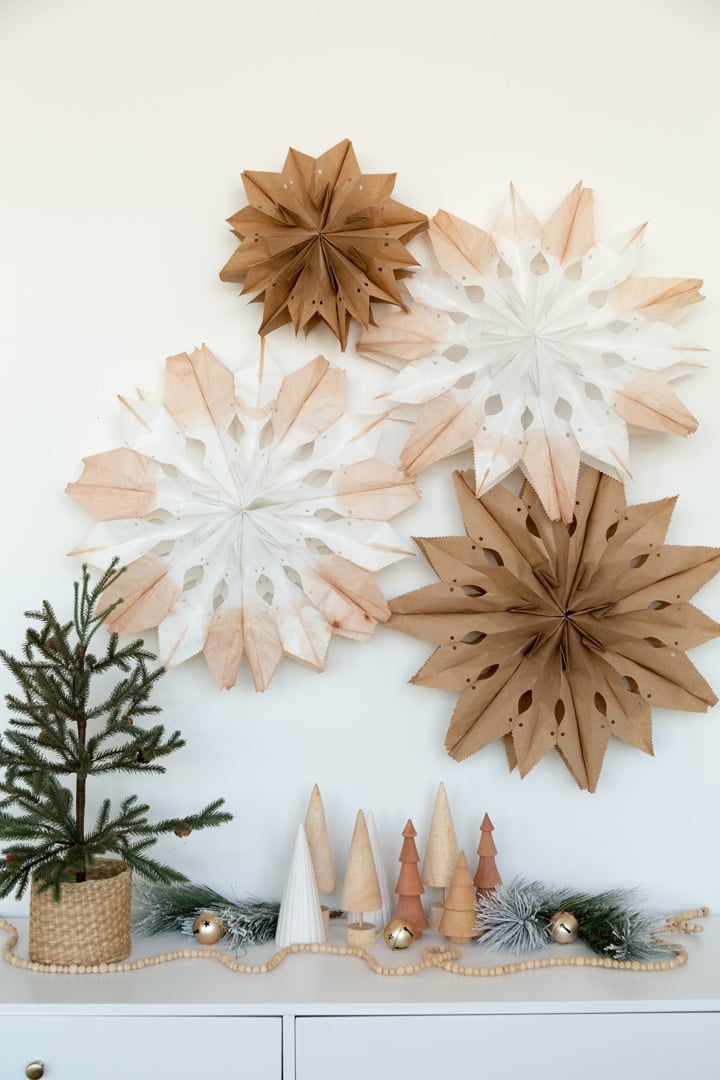
I love this fresh take on paper bag snowflakes: hand-dyed bags! Learn how at Alice and Lois.
Paper Bag Snowflakes from @thekwendyhome on Insta
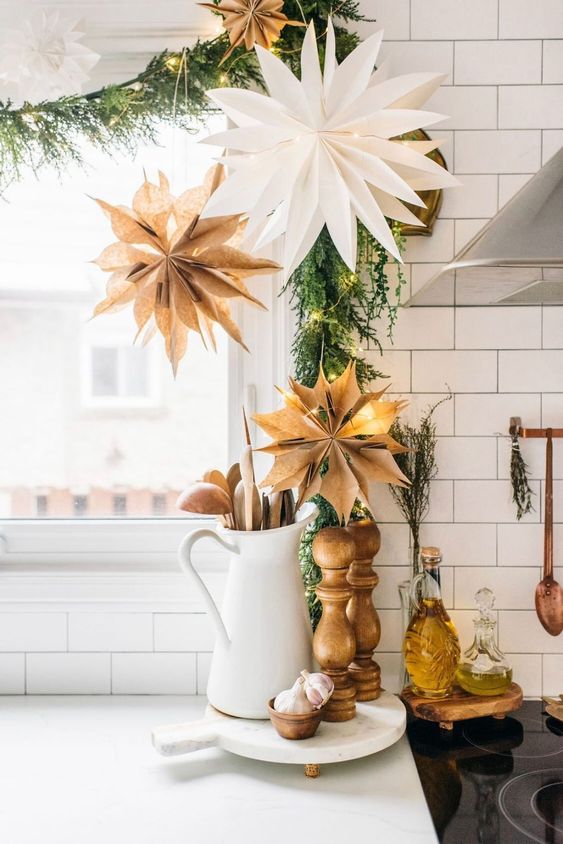
I love the use of fresh greens and paper bag snowflakes around the kitchen window.
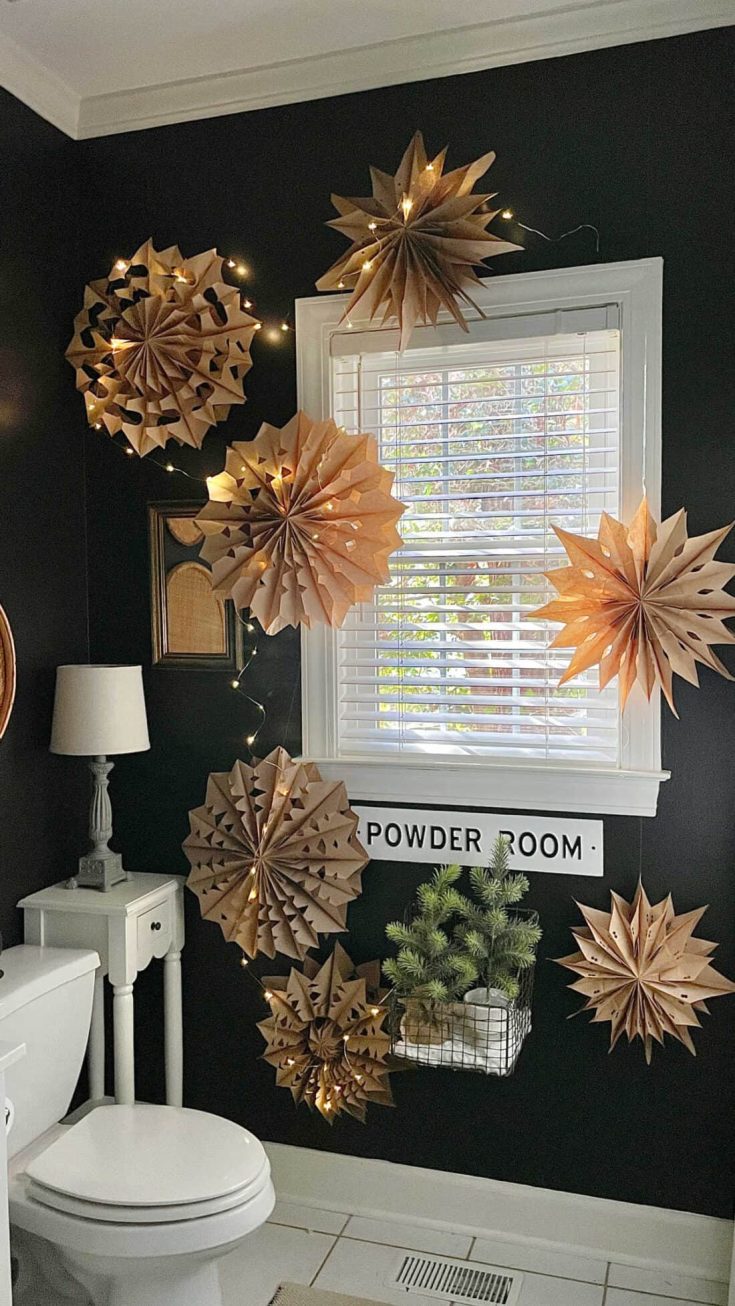
DIY Lunch Bag Snowflakes
Who says you can't add some rustic holiday decor to your powder room? These paper sack snowflakes are what you didn't know you needed for your bathroom this Christmas!
DIY paper bag snowflakes are a fantastic way to infuse your home with a touch of winter wonderland charm. I bet you never knew you could have so much fun with brown paper bag snowflakes and white paper lunch bags.
With a few simple materials and some creativity, you can create beautiful snowflakes in different sizes and different designs and use them in various ways elevate your Christmas decor.
So, gather your supplies, get crafting, and transform your home into a winter wonderland this holiday season.
Happy Crafting and Merry Christmas!





I had a wonderful time, looking at all your snowflake you have made