Hi there creative girls! I’m Erica and I blog over at For the Love of Decorating!
I’m a thrift store lovin’ DIYer with a passion for decorating on a budget! My decorating philosophy is to RE-use, RE-purpose, & RE-do FIRST, then fill in the rest. The goal of my blog is to chronicle my adventures in decorating (and re-decorating) my home & to inspire you to pick up a sander and can of paint and transform your home, one item at a time.
I am THRILLED to be one of Diana’s new contributors and SO EXCITED to share with you all today!
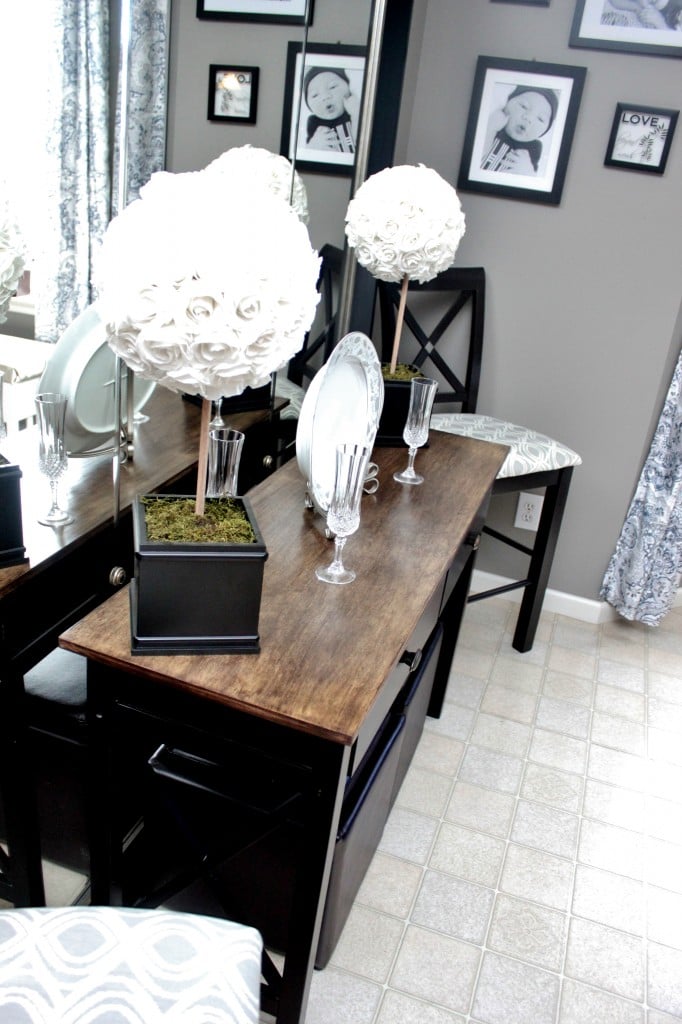
One of my favorite home decor projects I’ve done lately are these DIY topiaries in my dining room.
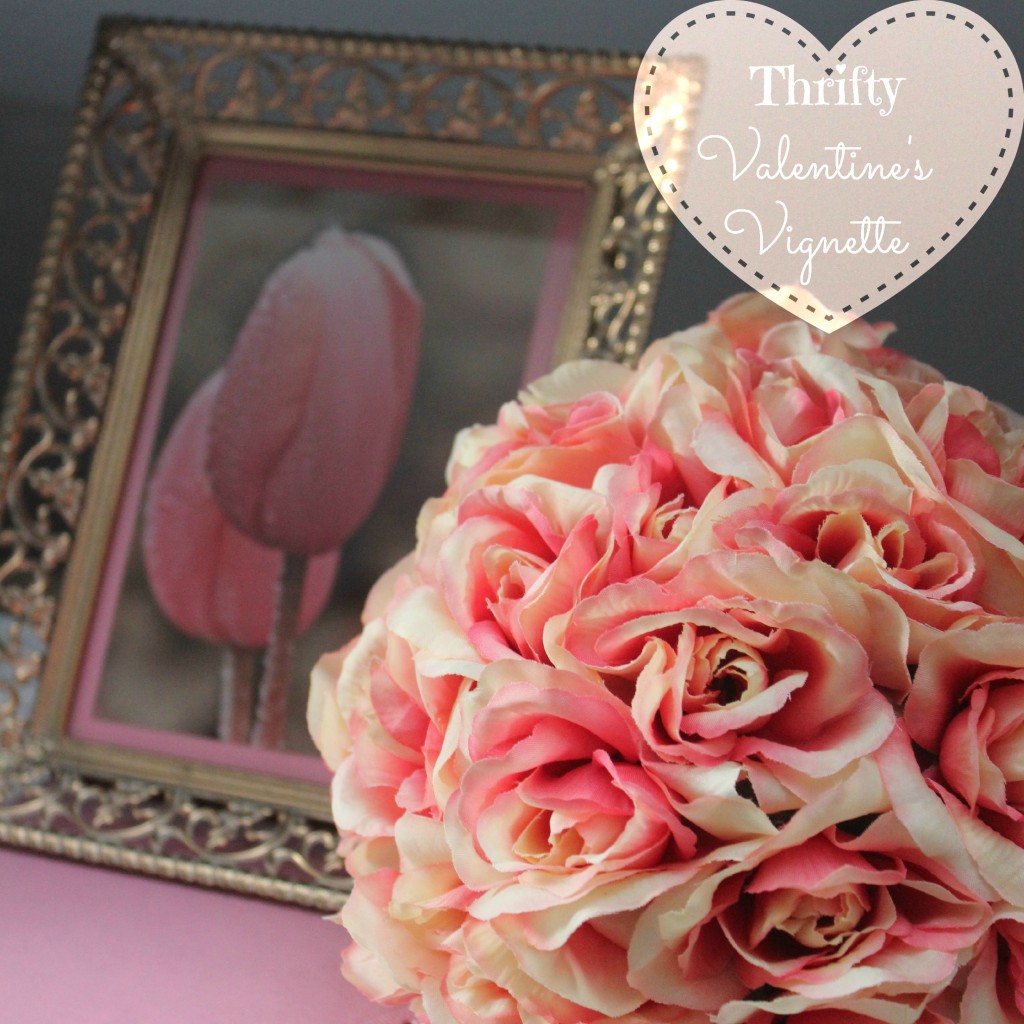
So when I was thinking up ideas for a Valentine’s Day vignette, I thought I would create an easier (and thriftier) version of them for another area in my home.
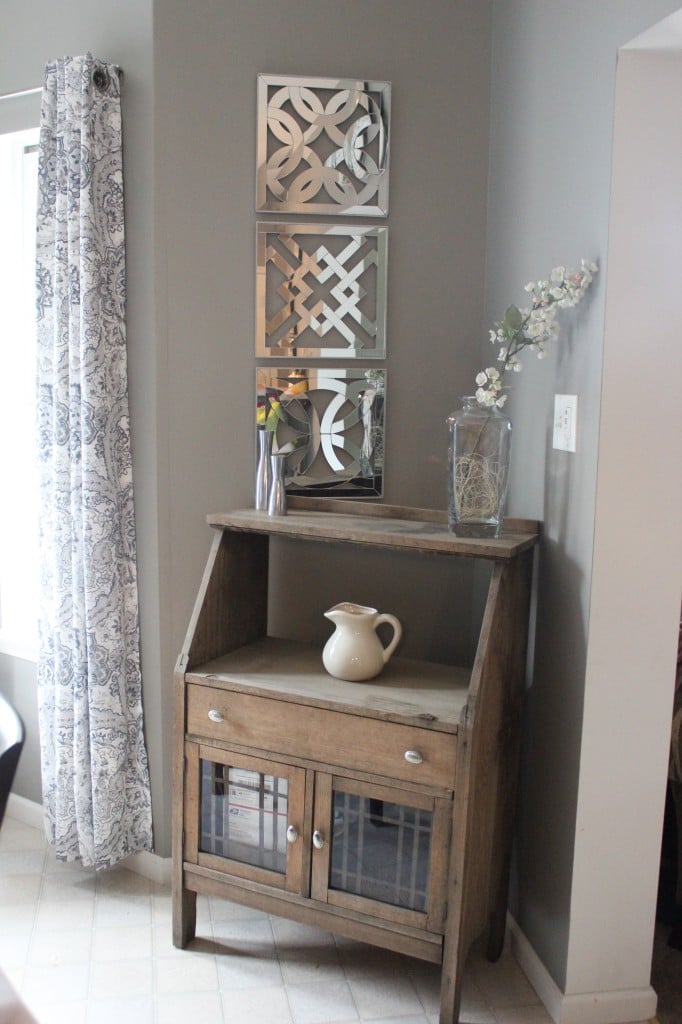
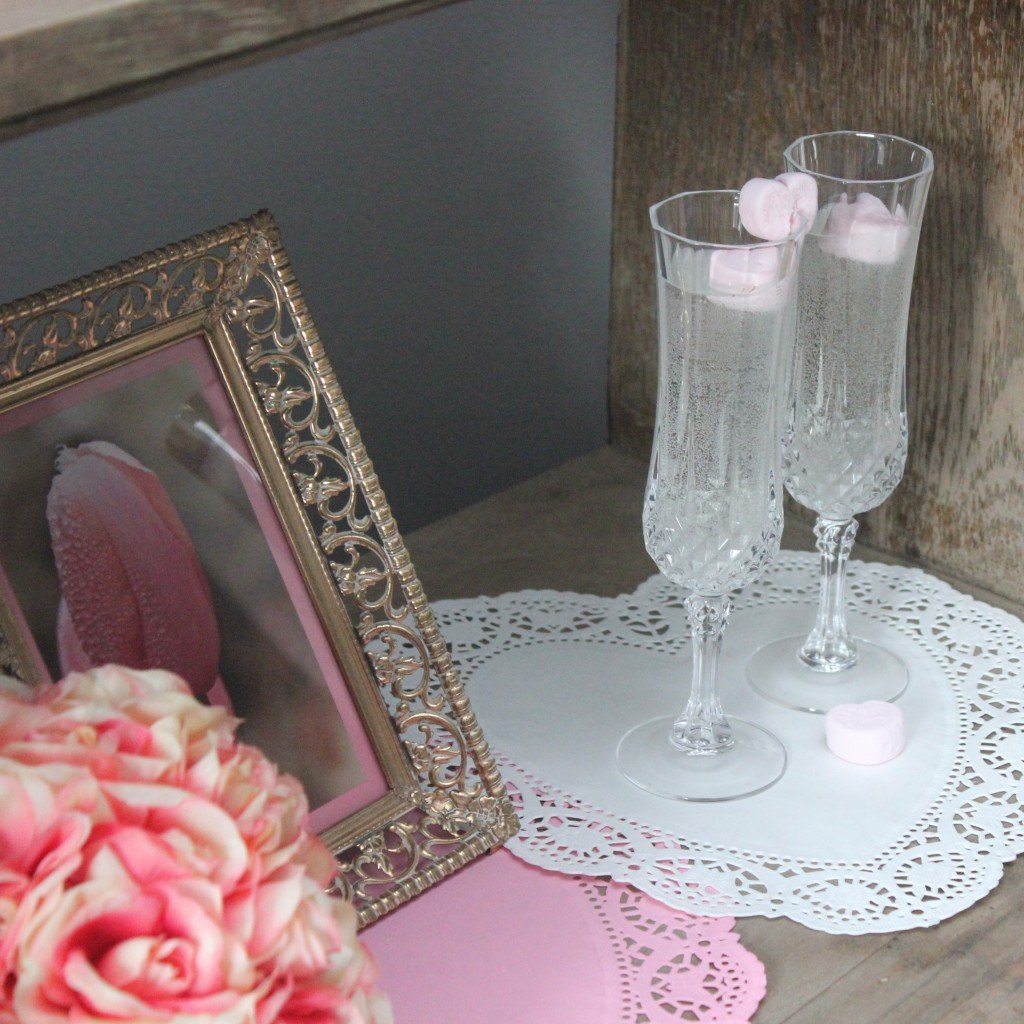
I have this adorable cabinet which is the perfect canvas for my rotating holiday decor…
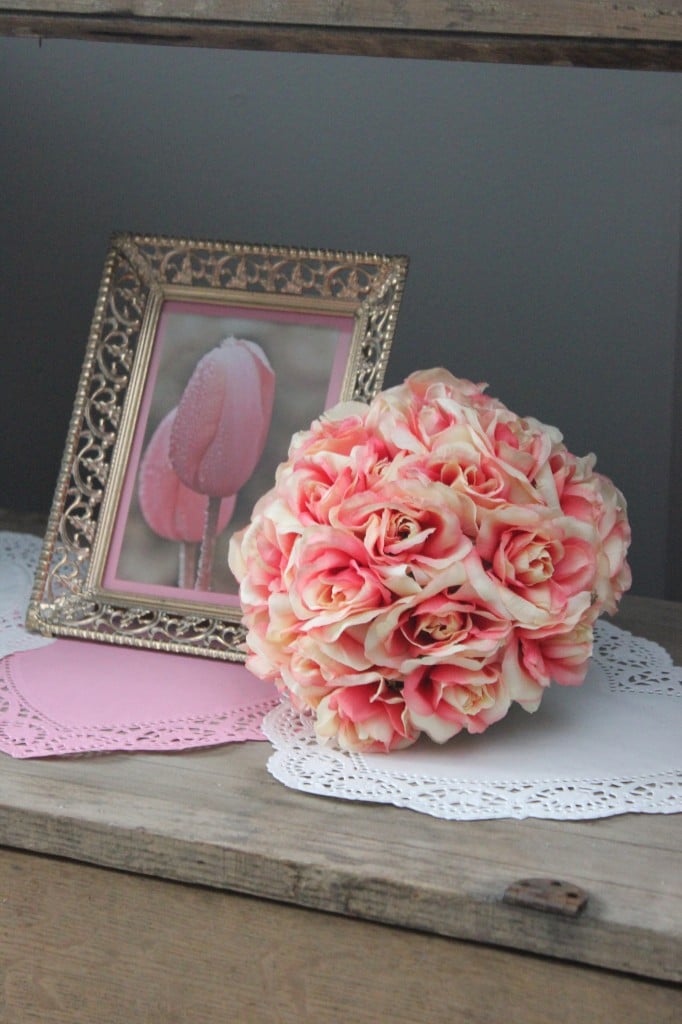
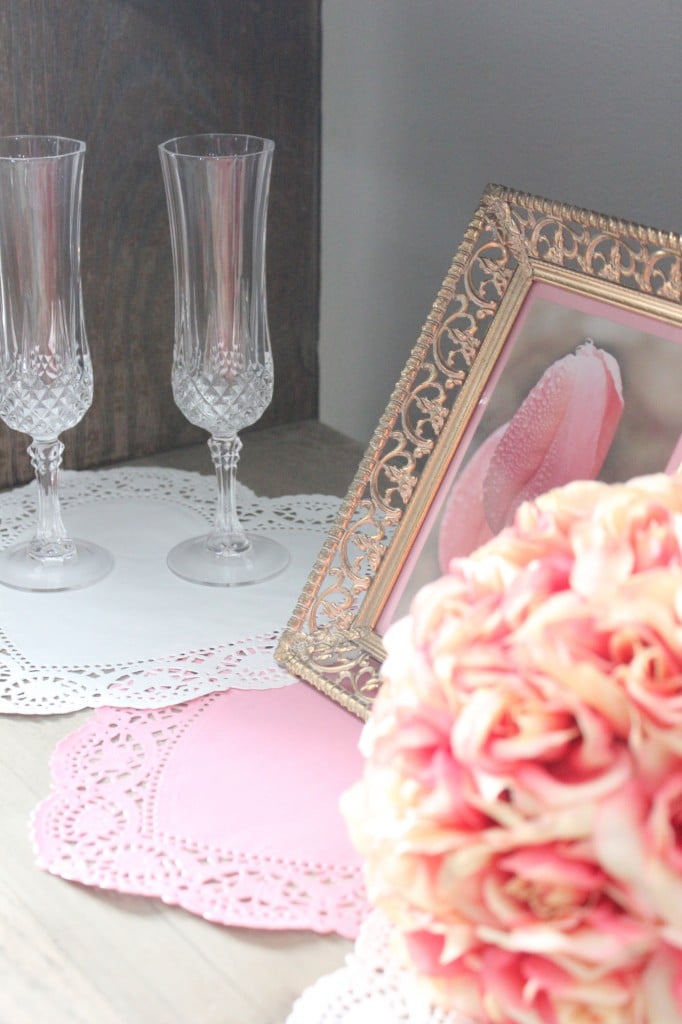
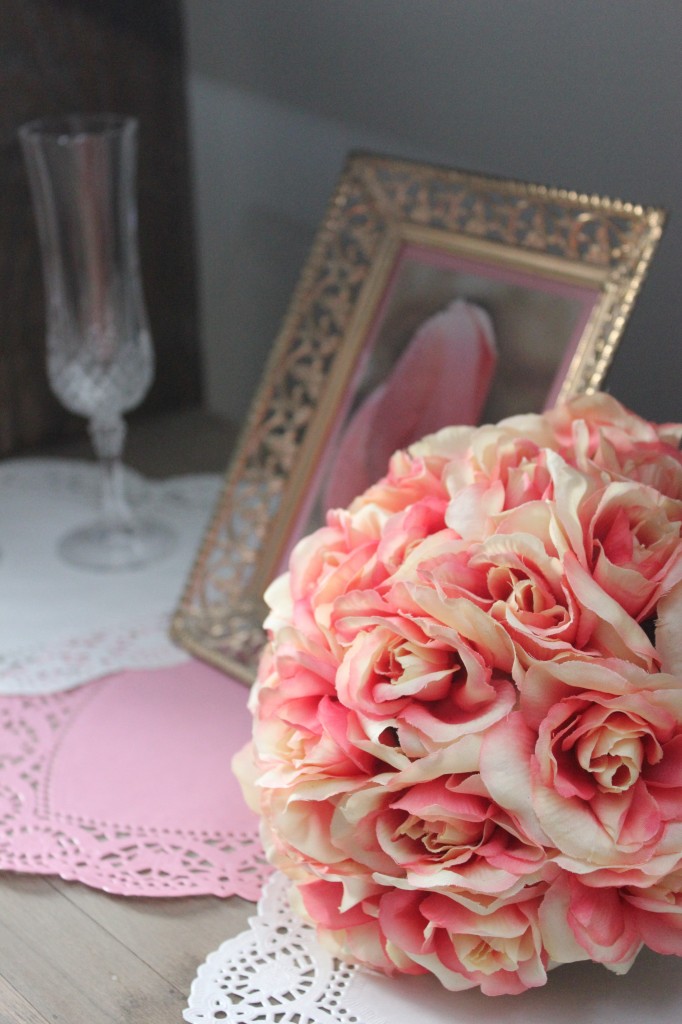
A trip to my local Goodwill, Dollar Tree, Walmart, and about $13 later and here is what I came up with…
- The doilies were only $1 per 16 pack at Dollar Tree
- The Champagne flutes and pink heart marshmallows I had on hand
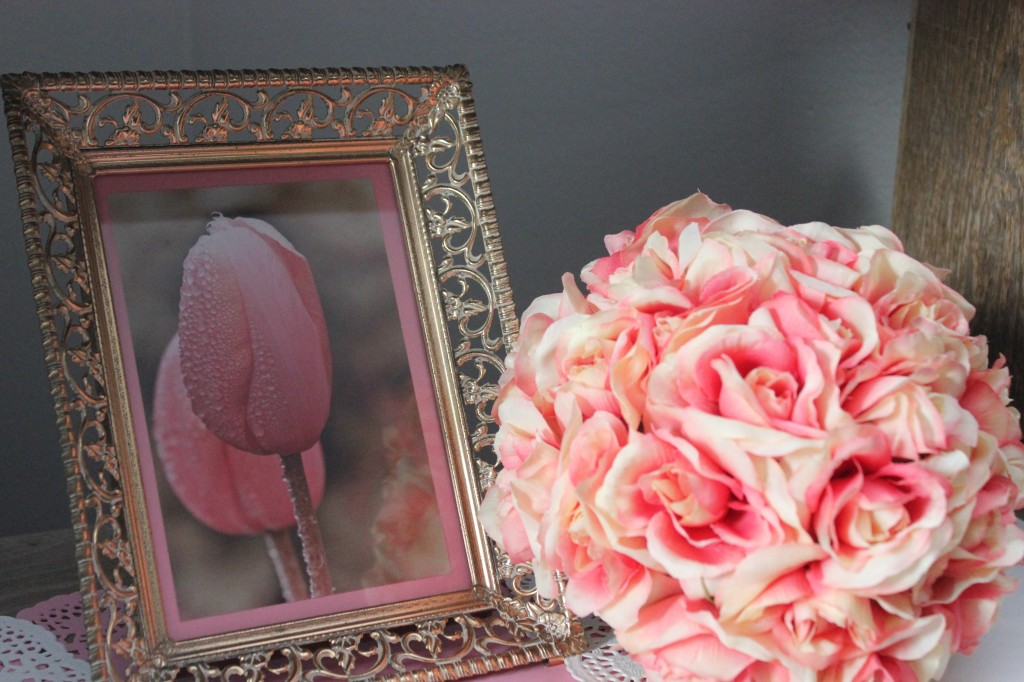
- That beautiful frame was a Goodwill score at just $2
- The tulip print? I found it on Pinterest and was able to go to the original source, save, upload and have it printed to a 4×6 at Walmart.com for 16 cents! You can too by going here 🙂
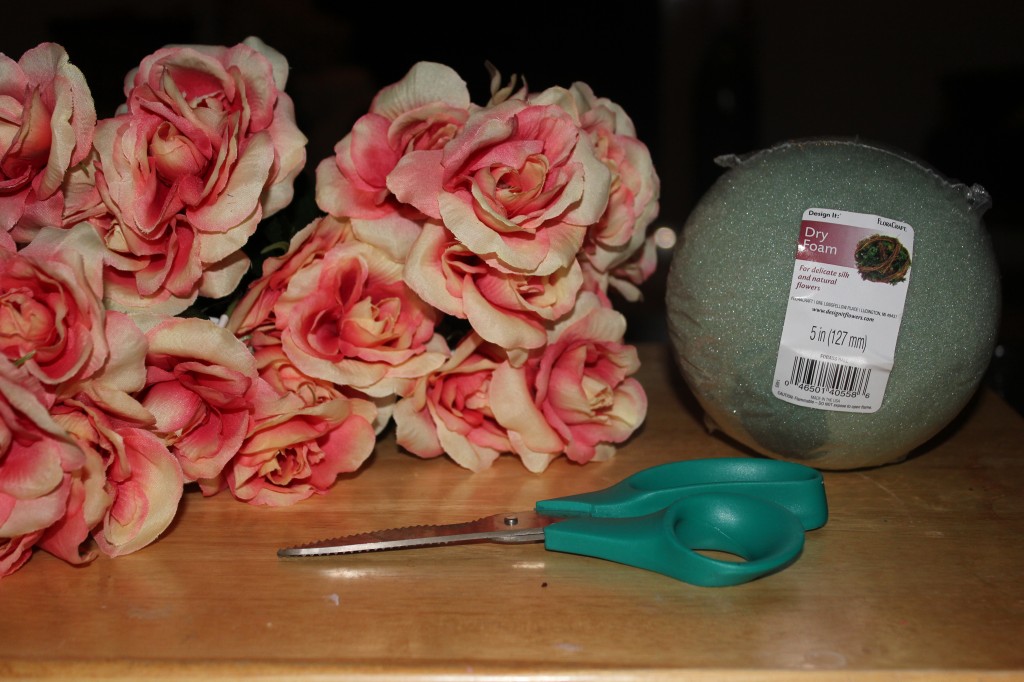
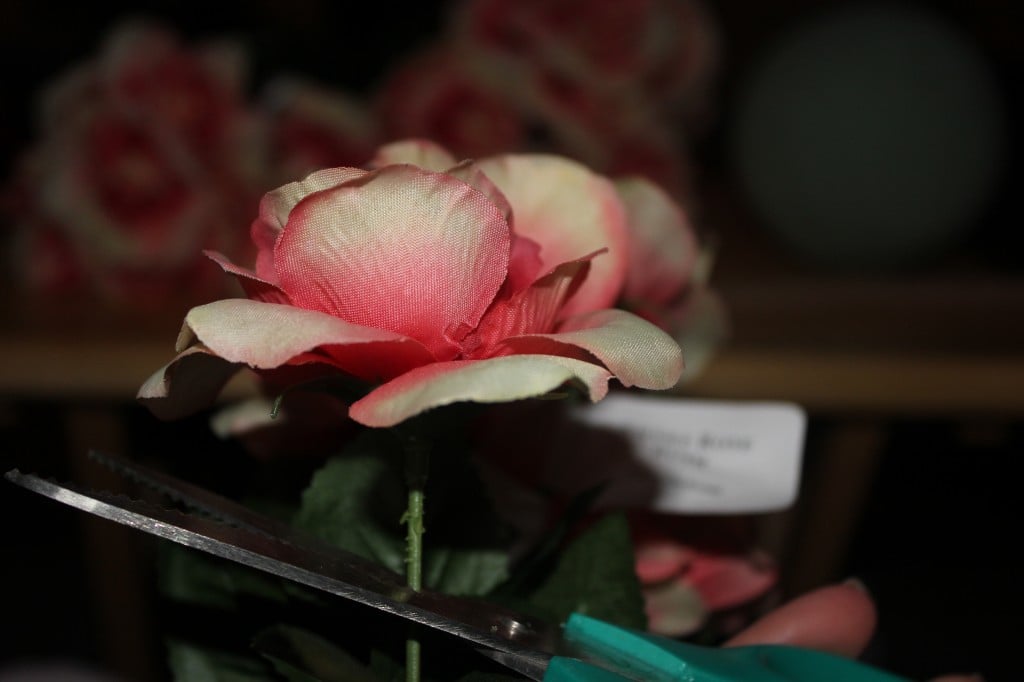
- Scissors
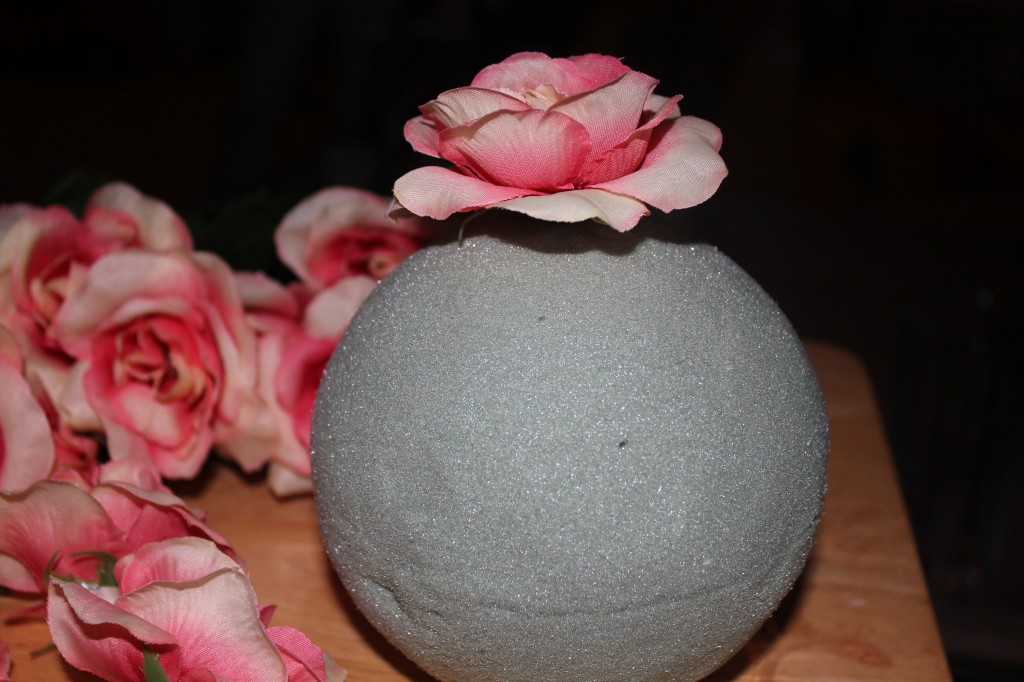
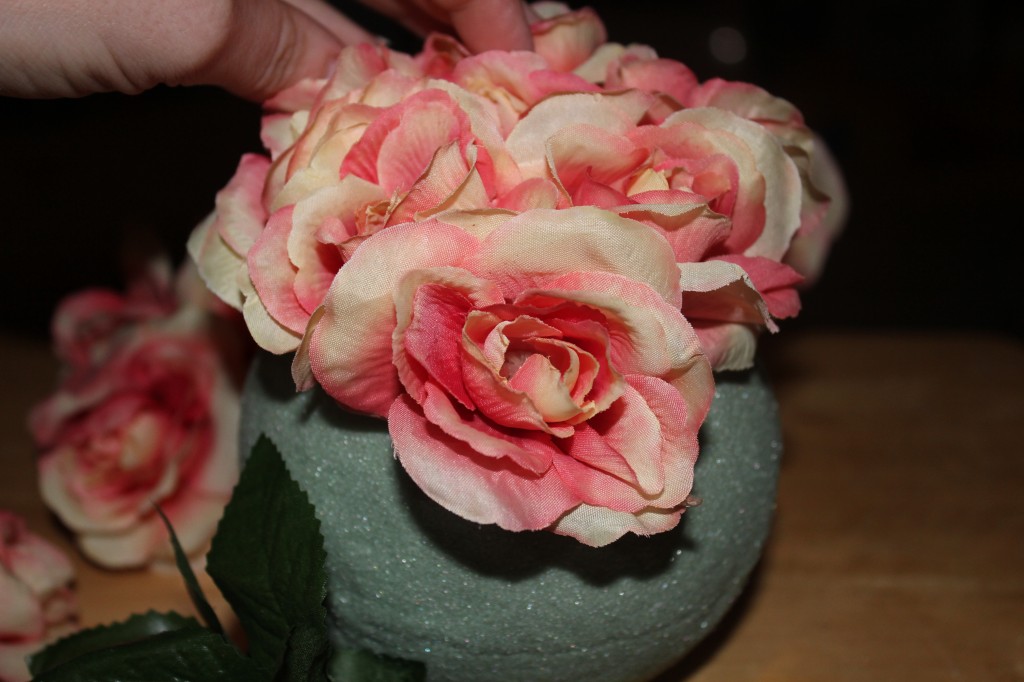
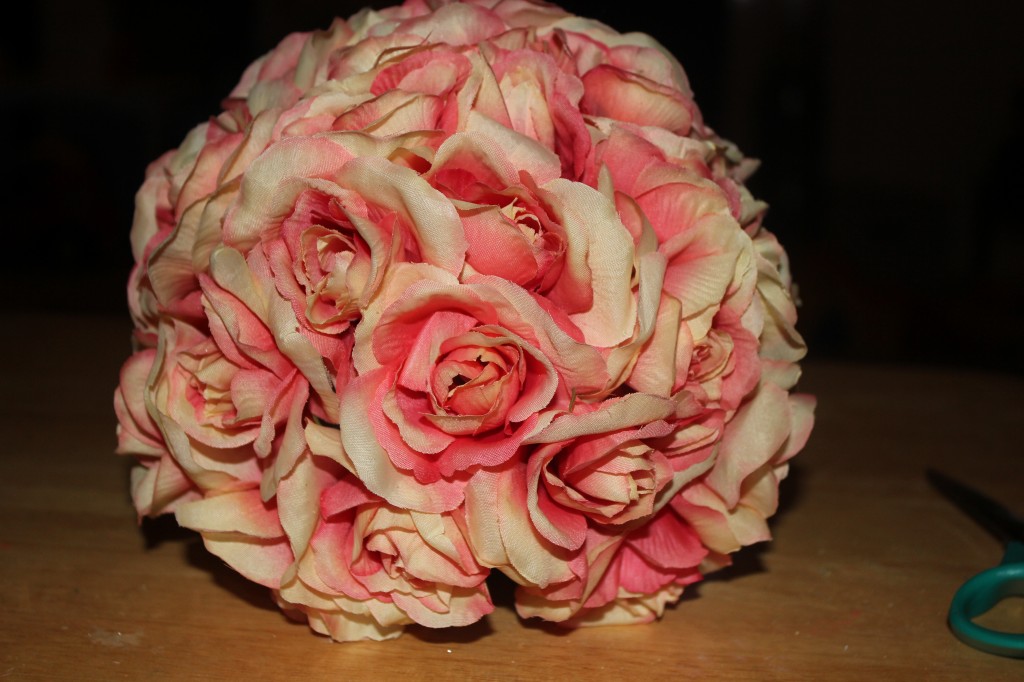
- Styrofoam ball (I used a 5″) – $2.99 @ Walmart
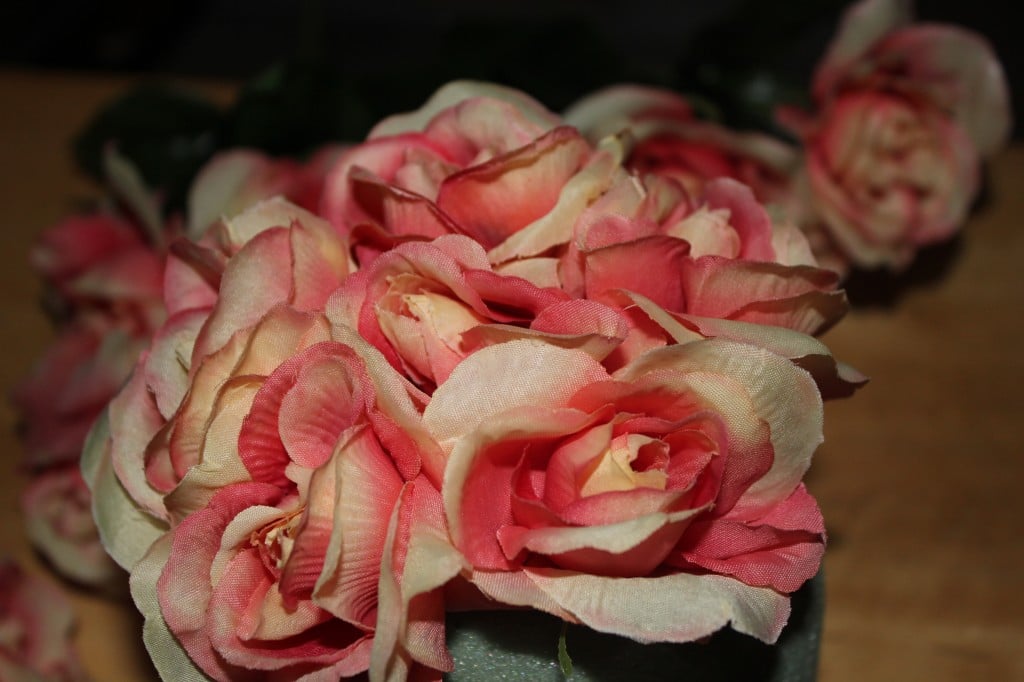
- 30-100 flowers depending on size & spacing (I used 60) – $0.75 for a stem of 6 flowers @ Walmart
I hope you enjoyed my first thrifty post here today. I am looking forward to sharing more with you all in the coming months 😉
I’d love to see you pop over at my blog or connect with me on any of my social media platforms! Facebook Pinterest Hometalk Twitter Google+



This is so pretty! Thank you so much for sharing!!! XO
Thanks for having me Diana 🙂
This is Beautiful, love the picture,and you are very smart to get it almost free, very nice.take care
Thanks 🙂
It may do double duty around Easter LOL
Oh I love those flowers!
Thanks! I was going to go with a solid pink (actually had them in my cart) but then I decided that the little variance with soft yellow would play well off off the gold in the frame 🙂