What girl doesn’t love a great wedding, right? Especially if its her own. I remember planning my wedding and it was a challenge working with the small budget we had. At that time I wasn’t as creative and crafty as I am now (or maybe I was but the thought of taking on DIY projects then seemed to daunting) so I was on the hunt to find nice but affordable things to make my wedding day perfect. I remember when I was looking for wedding favors I was determined to stay within our budget. I came across these cute frames and I used them as place card holders and they were really adorable but thinking back on it now, I probably could have done favors much cheaper if I had made them myself. Hind site is always 20/20, right? I’m excited to share with you these adorable wedding favors on a budget that I came up with for Wedding Week over at Country Chic Cottage.
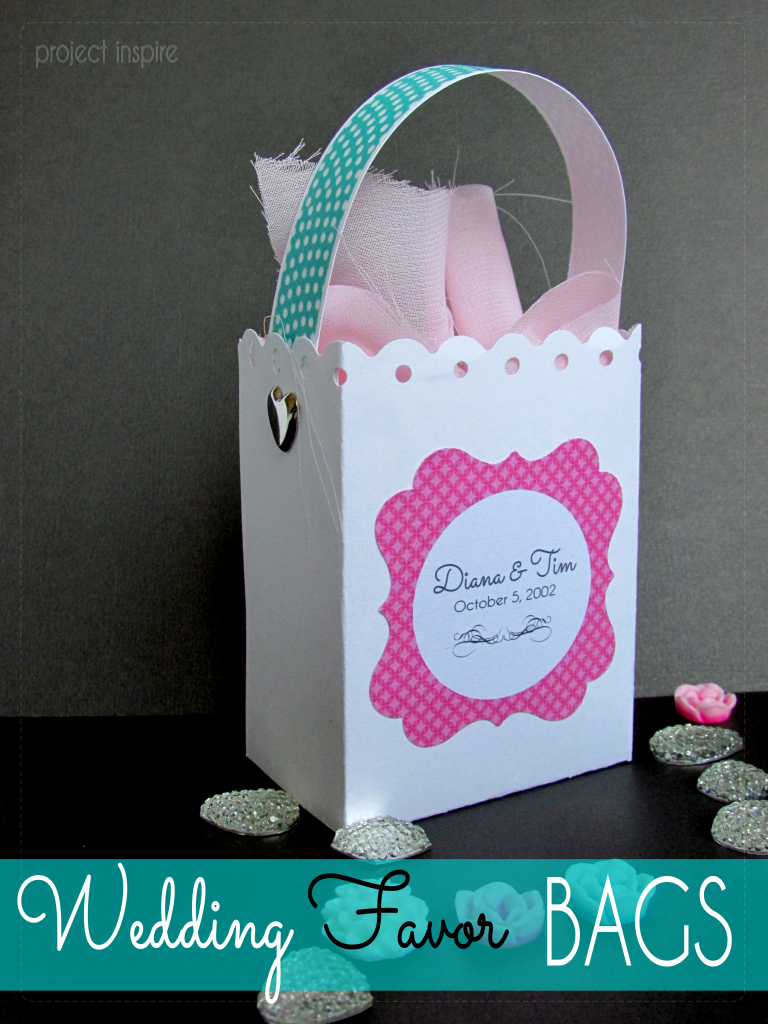
This little bag would be perfect for so many things. I’m thinking baby and bridal shower favors, wedding favors, birthday party goody bags…the list goes on. And what’s kind of funny is that I learned how to make this (the basic concept anyway) in Kindergarten!
So, lets get started. Here is our supply list:
8.5 x 11 card stock
Template (download HERE)
Custom Labels
Paper Cutter
Washi Tape
Double Sided Tape
Decorative Border Punch or Scissors
Brads
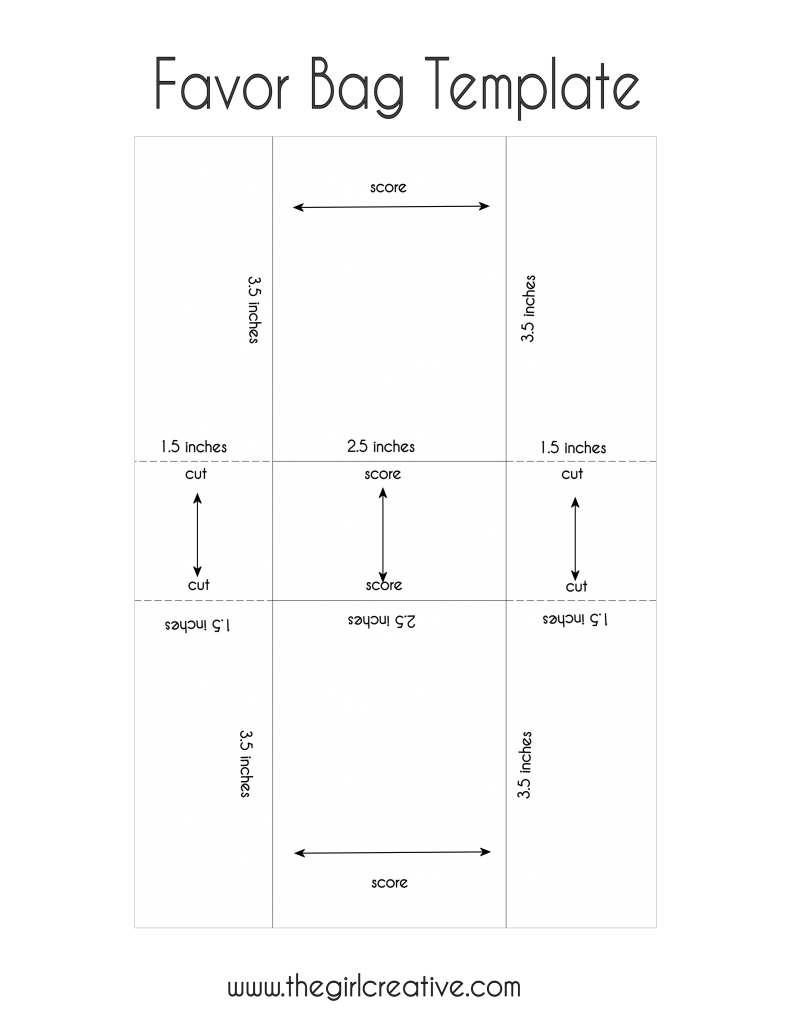
Print out as many copies of the template as you need. If you need a large amount it might not be a bad idea to take them to your local copy center and get copies made. It will help save ink on your printer.
Trim the edges of the template so you are working with the actual size the bag will be. At this time you will use your border punch or decorative scissors to trim the short sides of the template as this will be the top of your box. You are going to score where it says score and cut where it says cut.
(I’m sorry I don’t have photos of all the steps. I took them but they came out terrible! I even tried to edit them and nothing is helping so…….)
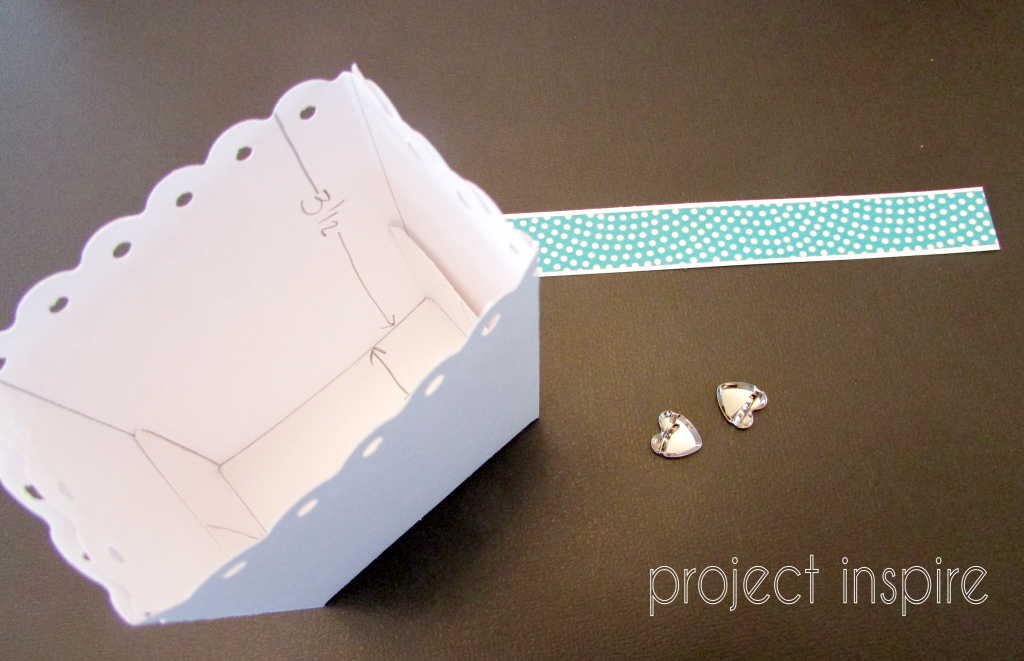
Next trim a small piece of paper for the handle and place a strip of washi tape right over it.
Assemble the box by tucking the small tab inside and folder the two longer tabs over it. Secure with double sided tape. (Ignore all of my sketches on the inside of the box. I did that before I created the template.)
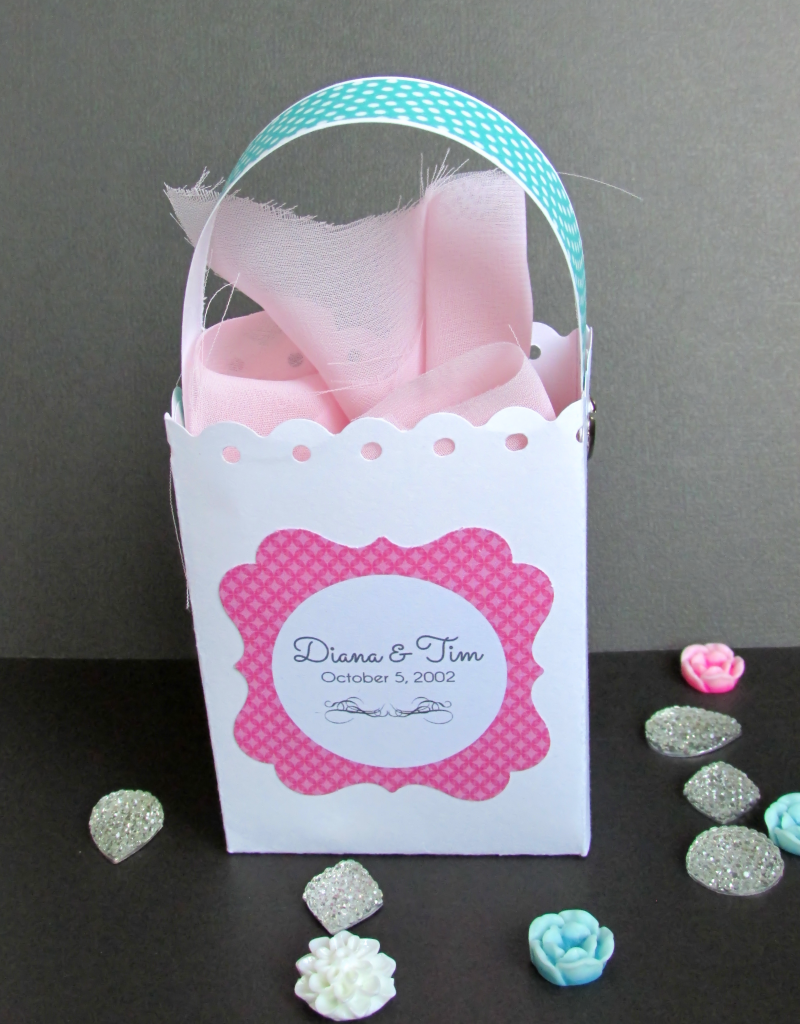
If you have one of those small hole punches handy punch a hold in the strap on each end and on both sides of the box. If not, just use an exacto knife like I did. Attach handle with brads. Add filling of choice. I didn’t have any goodies on hand but you can put Hershey Kisses in them or anything really. Add your custom label and you are done! I made the label myself but you can order monogram ones or custom ones from just about anywhere.
Such a simple and adorable project. This wedding favor bag was created using half of an standard piece of card stock. I recently made one using the full sheet and it was perfect for using as a gift bag. My daughter had a party to go to and we bought her friend some accessories so I made up a bag, customized it with a name label and it was plenty big for even the card to fit into.
This entire week is Wedding Week over at Country Chic Cottage so make sure you stop by. I’m sure you will get a ton of ideas for all sorts of events (not just weddings).

What a sweet idea….love the little handle at the top 🙂
Too cute! Love that you don’t need a die cut machine to make this!
These are so great! Thanks you for sharing! I’d love for you to check out our first ever Pattern Party. Those with free patterns or templates are invited to link up! Hope to see you there! http://getyourcraptogether.blogspot.com/search/label/Pattern%20Party
I love the washi tape on the handles – such a great idea. (Stopping over from Creative Stumbles on FB)
Aww, thank you so much!! XOXO